1. Overview
The importance of time management isn’t news. There is no doubt that being more productive is as a result of learning how to effectively manage your time. As business owners, this is the first rule in the game if you are looking for your business to thrive.
Generating products or services manually can not only be time-consuming but also tiring. This could lead to losing hours that could have been more productive doing something else, it could also lead to weariness for your employees.

Learning how to automate a certain task that is unavoidable in a business such as sending lead generation emails, following up with new clients, preparing daily reports, etc would not only help your business but also personally help you avoid time wastage.
Customizing product labels for every new shipping detail may be one of the manual duties you find yourself doing if your business produces custom or small-batch products. Learning how to automate this process so these assets become readily available when you need them could save you a lot of time and cost.
If you simply need to create a printable shipping label without setting up an automated workflow, a free shipping label maker offers a quick no-code option before moving on to full automation.
In this article, I will be showing you how to auto-generate custom shipping or personalized product labels and print them locally with Zapier so grab a cup of coffee and stick with me.
2. What are labels?
A label is a small piece of information that contains all the necessary details about a product such as the product name, address, shipping details, cost, etc. As a result, all the necessary information needed by the customers is written on the label making them identify their purchase.
Labeling is very important as it bridges the gap between branding and packaging. There are many types of labels available, I would be discussing some of them in this article.
3. Types of labels
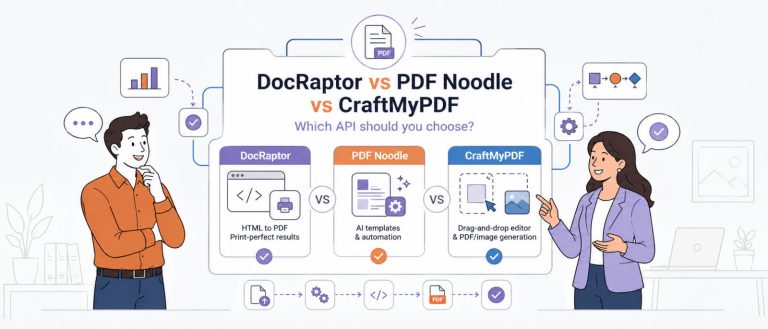
The following types of labels can be generated with CraftMyPDF
i. Shipping Label
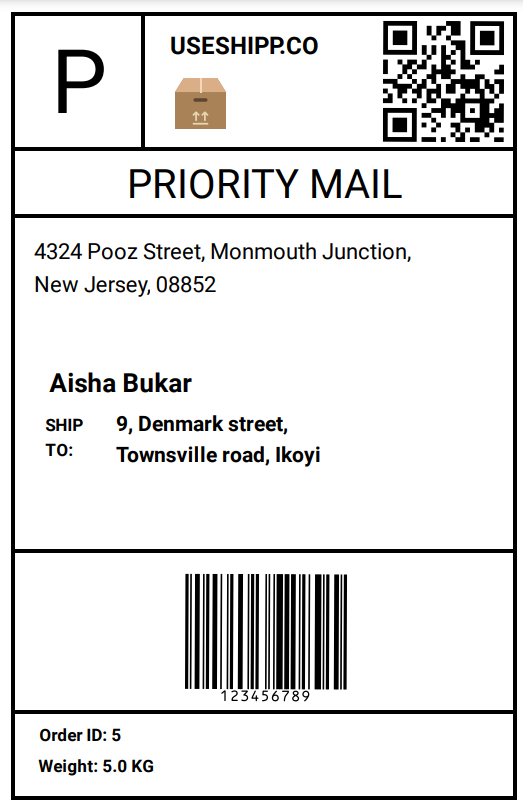
Shipping labels are labels that contain important details such as tracking URL, weight, recipient, address, barcode, etc which are needed for a courier to deliver a package from the source destination to the target destination. Each detail on every shipping label is distinct, therefore a new shipping label must be made for every delivery.

Avery 8126 is perfect for shipping labels. Not only does the shipping label contain all the important details, but it also makes your label easy to understand by providing enough space to display crucial information.
ii. Product Label
Product labels are labels that help customers understand the significance of the products by establishing a brand identity for the product.
They include details such as the brand logo, the brand theme and concept, what the product is all about, and occasionally necessary information on how to use the product. This aids in spreading knowledge of the merchandise.
iii. Mailing Label
Mailing labels are labels that have the company’s name, logo, and address printed on them. They contain the necessary information needed for postal delivery. Additionally, you can create unique labels for your mailing envelopes using custom Avery labels. You can also customize the recipient’s address on the envelope, and the size of the label, amongst other things to suit your preferences.
If you need a quick way to create printable mailing labels before automating the workflow, an address label generator can help you design professional address labels online in just a few clicks.
CraftMyPDF allows you to create unique labels for free. Additionally, it streamlines the process of designing your labels from scratch by allowing you to customize your label according to your demands using already created templates, it also allows you to auto-generate the labels into PDFs easily, and print them locally.
Let’s get started on how to automate this work process!
4. The workflow to automate shipping labels with Zapier
Step 1. Configure your Airtable base
Airtable is a low-code database solution that allows you to create relationships between two or more tables and its ability to seamlessly interact with other applications, makes it the perfect database choice. Here’s what you need to do to get started:
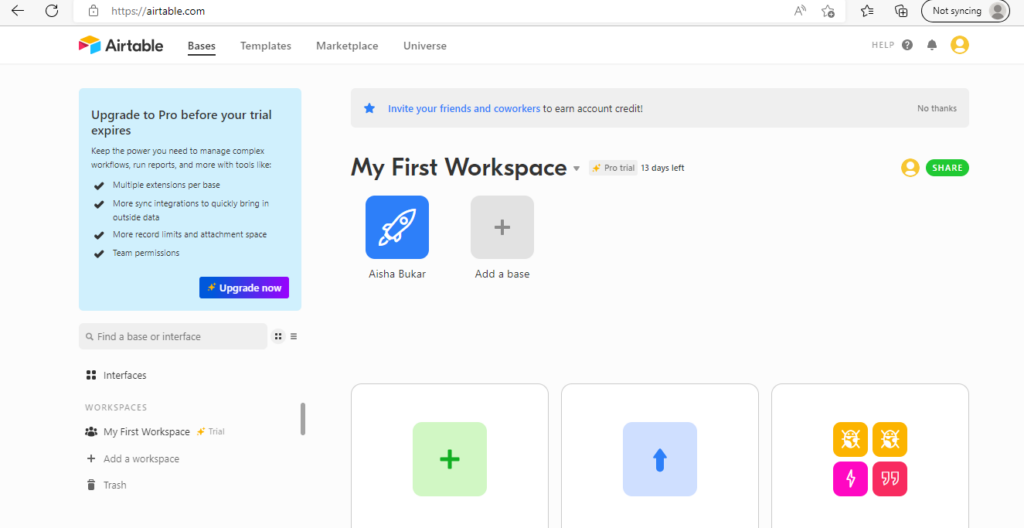
- Go to Airtable and create an account, you should see a page similar to the screenshot below
2. After your account has been created, click on “Add a base”, then add your Airtable fields and the required field type depending on your preference. My fields are Recipient, Ship_to, Order_id, Weight, Tracking_url, Image_url, Barcode, last_modified_time
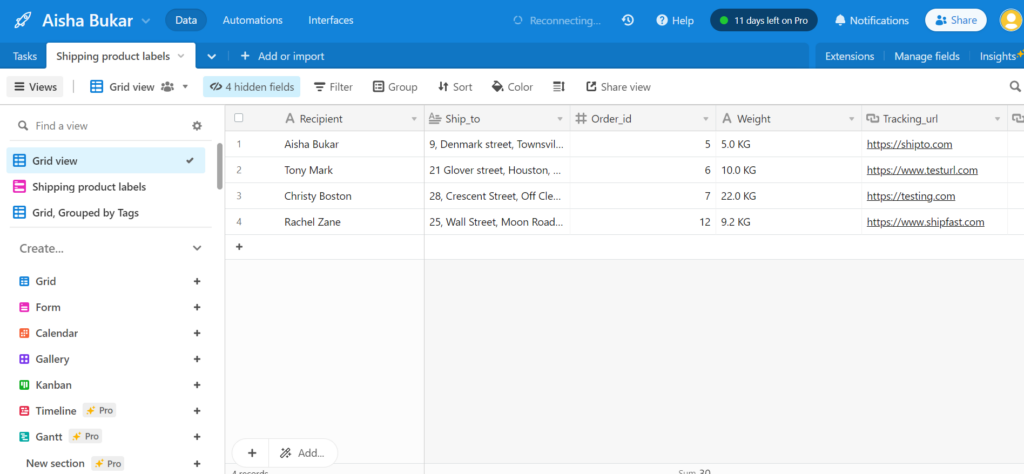
It is important to include a “last_modified_time” field with a field type of “last modified time” because we will require it shortly when integrating with Zapier.
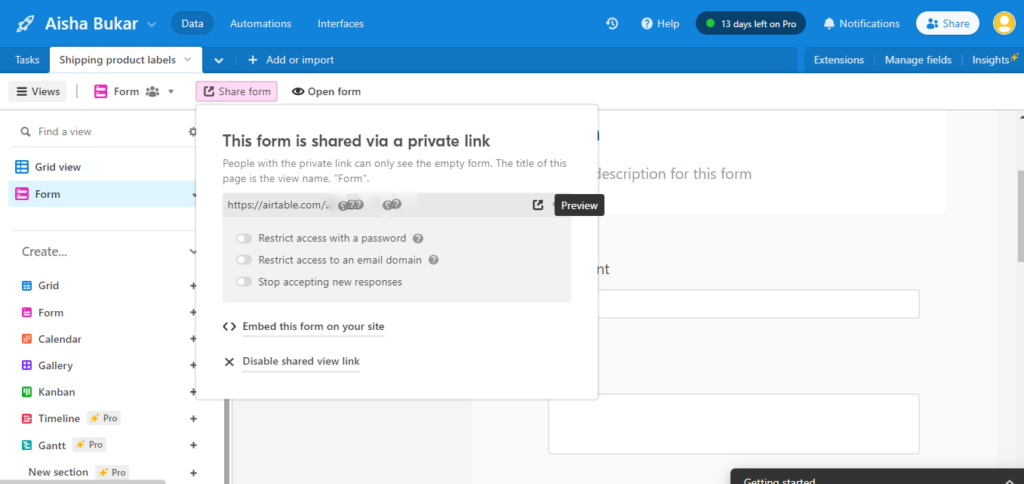
3. Go to form on the top left corner of your Airtable, and configure a form view. This makes it easy for you to input your information by providing an accessible URL you can use to input information using any device.

4. Send a test response to make sure that all of your Airtable fields are configured properly. To do this, click on “Open form” and fill in your information. You can also choose “Share form” to access the URL needed to submit a response.
Step 2. Create a customized template using CraftMyPDF
- To create a customized shipping label template, go to CraftMyPDF, and create an account if you don’t have one already
- After creating an account successfully, select “Manage templates,” then “New PDF template,” give your template a name, and select your preferred template type. I chose the Avery 8126 shipping label template for my shipping label. Click on the create button once you are satisfied.
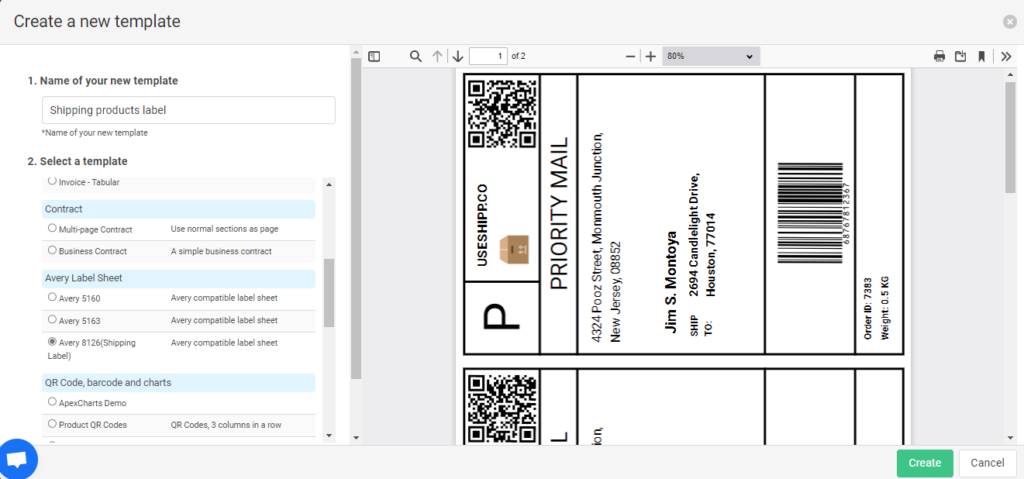
The newly created template would be added to your workspace, click on the “edit” button to make changes you find necessary to your template. You should end up with a label similar to the screenshot below
Step 3. Configure Zapier to auto-generate and print labels
Zapier is a tool that allows you seamlessly integrate other web applications to automate your tasks. We would be using Zapier to auto-generate and print our shipping labels. Here’s what you need to do to get started:
- Go to Zapier, and create an account if you don’t have one already
- Click “+ Create Zap” on your Zapier dashboard, then configure the following actions:
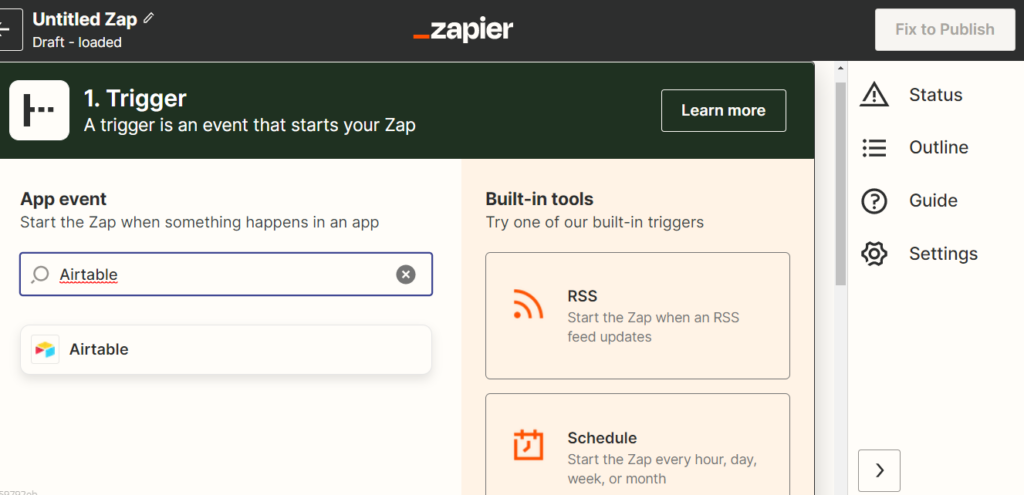
i. New or updated record in Airtable
Choose Airtable as the app and “New or Updated Record” as the event to trigger new or updated records in your Airtable base.
Follow the steps to fill in your event, base, table, and all other required details. To connect your Airtable to Zapier, you would need to generate your Airtable API key. To do that, click the link provided in the steps. After successfully connecting the right account, your trigger should look like this
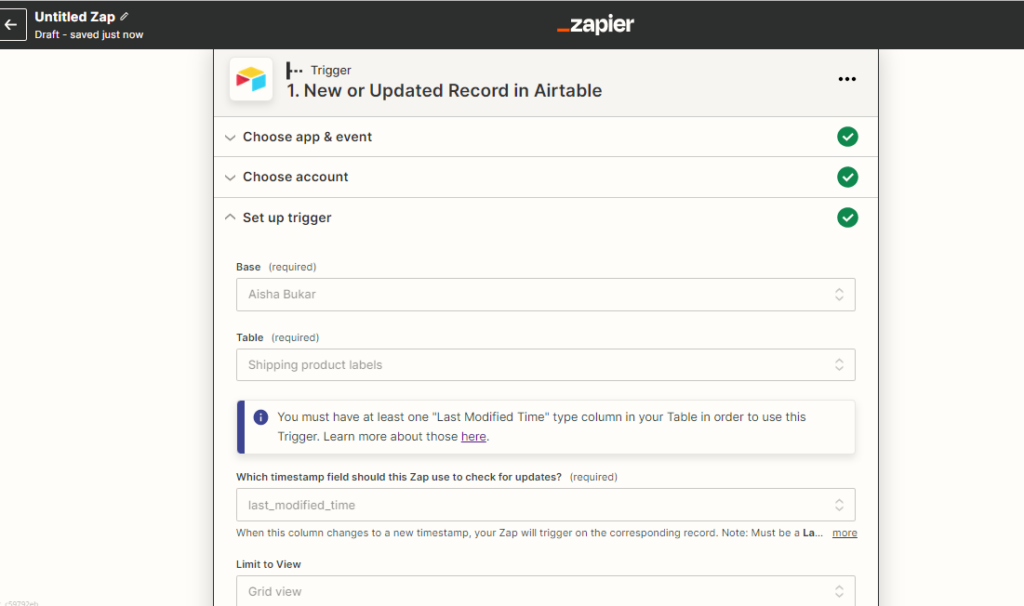
Set up your trigger by filling in the necessary fields. Test your Trigger to ensure that Airtable has been successfully connected to Zapier.
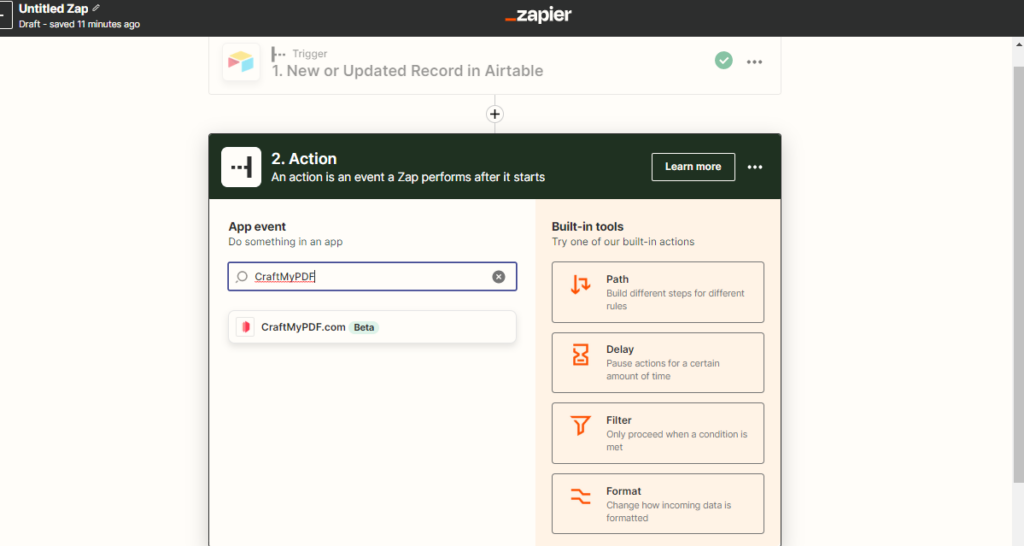
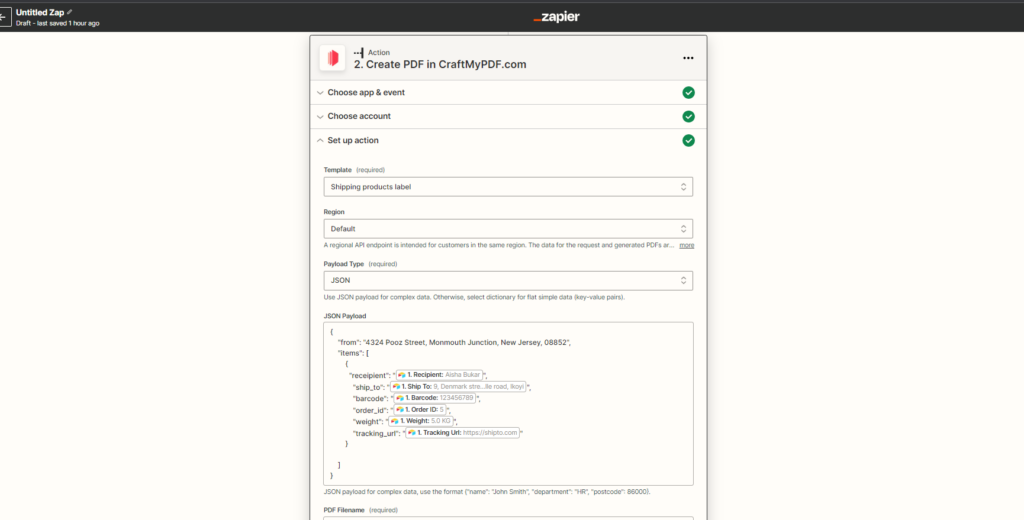
ii. Create PDF in CraftMyPDF
Choose “CraftMyPDF” as the app and “Create PDF” as the event. We are going to set up an action to create a PDF using the CraftMyPDF template created earlier.
You must link your accounts using the CraftMyPDF API key, which can be located in the dashboard’s “API Integration” section at the top of your CraftMyPDF page.
After successfully connecting your account, then proceed to set up your action, choose your template, then select “Payload type”.
There are three options for the payload:
- Dictionary: A Dictionary is a set of simple key-value pairs for flat-structured JSON. Each key-value combination maps the key to its corresponding value
- JSON data: JSON payload is for complex hierarchical data. JSON data can be a string, a number, a JSON object, an array, a boolean, or even null. To insert our data from Airtable, we would use the JSON Payload with key-value pairs. You need to fill in the necessary keys while following the JSON format, then drag and drop the Airtable values.
- Schema of Data: This option auto-generates input fields from the sample data in the Data tab in the template editor. This is the simplest way to create payload data.
To learn more about how to handle payload data, visit the tutorial for more details.
For more information on payload, check out our guide for a well-detailed explanation. Next, “Test action” to ensure that CraftMyPDF has been successfully connected to Zapier
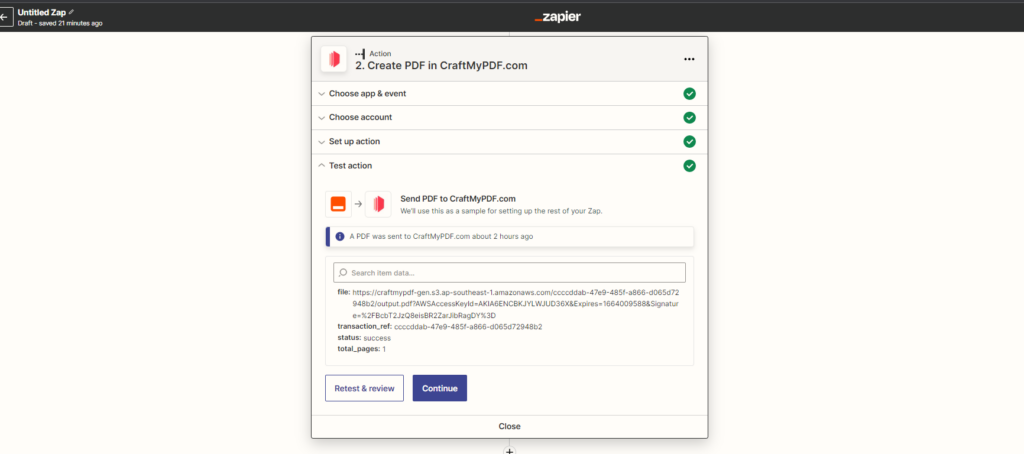
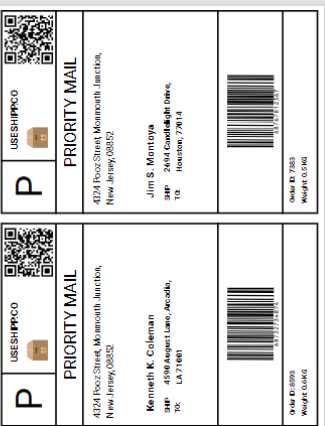
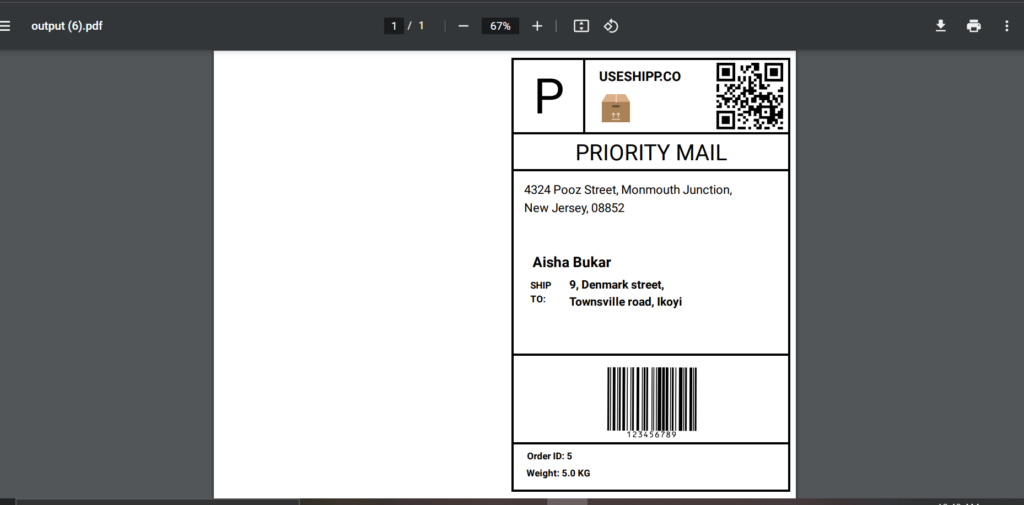
Print your PDF by clicking the link in the “file”. You should be able to view a PDF similar to the screenshot below.
iii. Update a record in Airtable
Choose Airtable as the app and “Update Record” as the event. We are going to trigger this event with our Airtable.
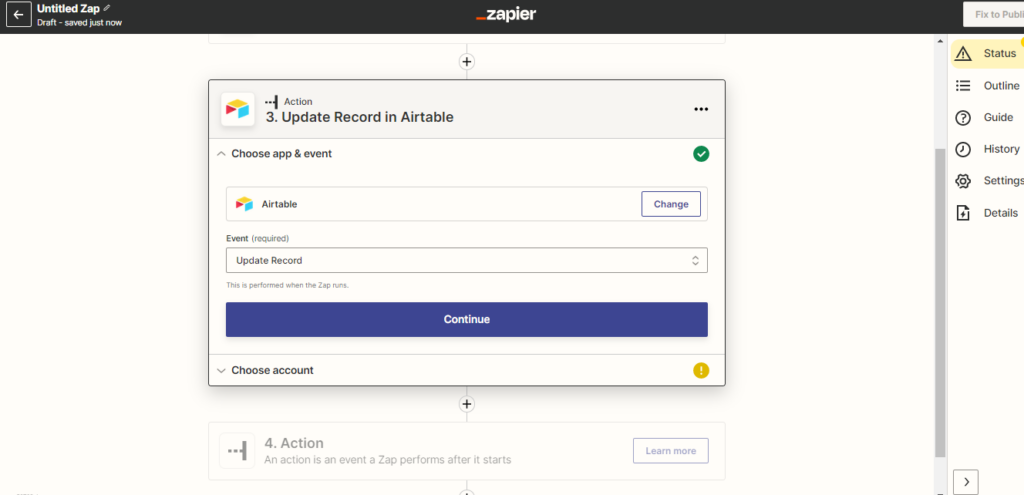
Follow the steps to fill in your event, base, table, and all other required details. After successfully connecting the right account, your trigger should look like this.
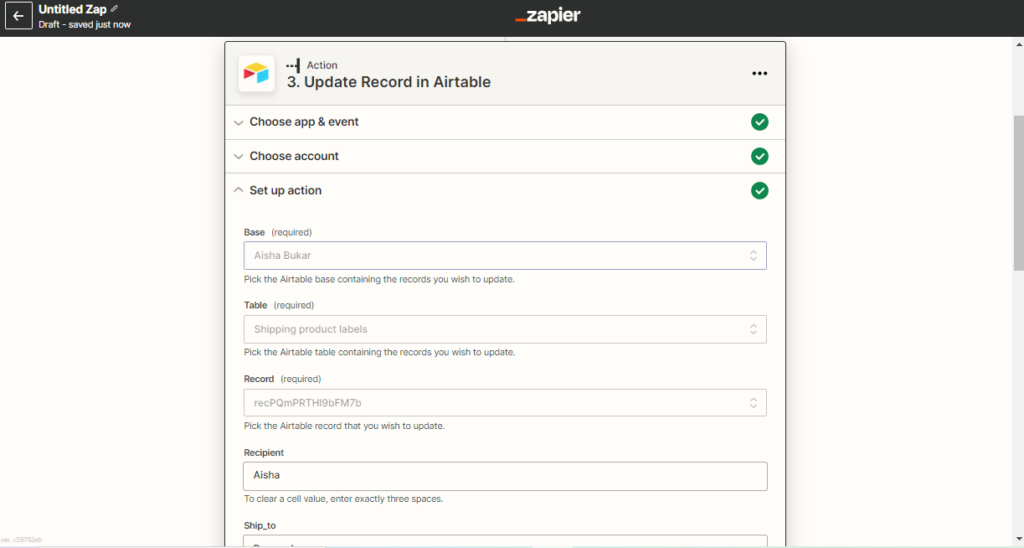
Test your Trigger to ensure that your record has been updated in your Airtable. Additionally, the record would also be updated in your Airtable base. To verify this, check out your base.

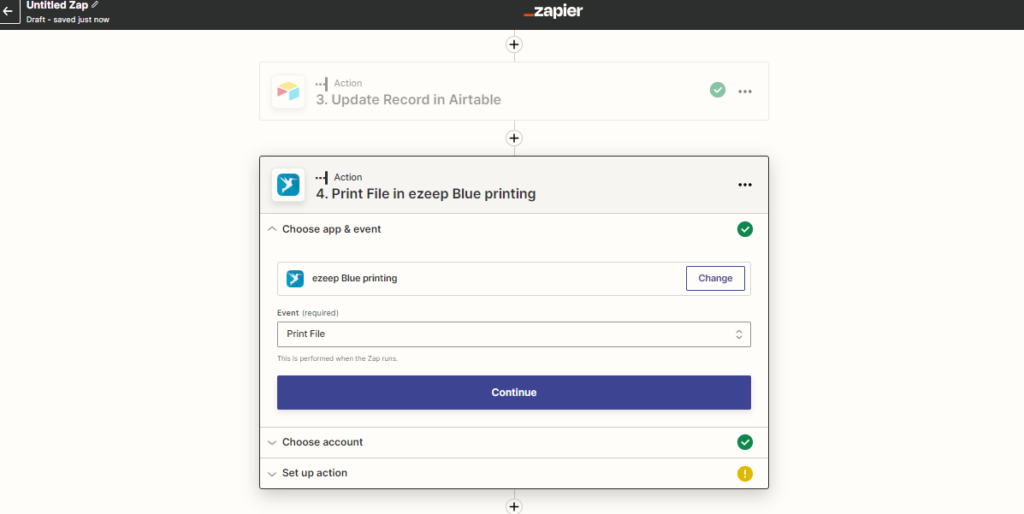
vi. Print file using ezeep Blue
Choose ”ezeep Blue printing” as the app and “Print file” as the event. You will be requested to log in if your ezeep account hasn’t been linked yet.
Set up the action by selecting your printer for the shipping label and make any required adjustments to the settings.
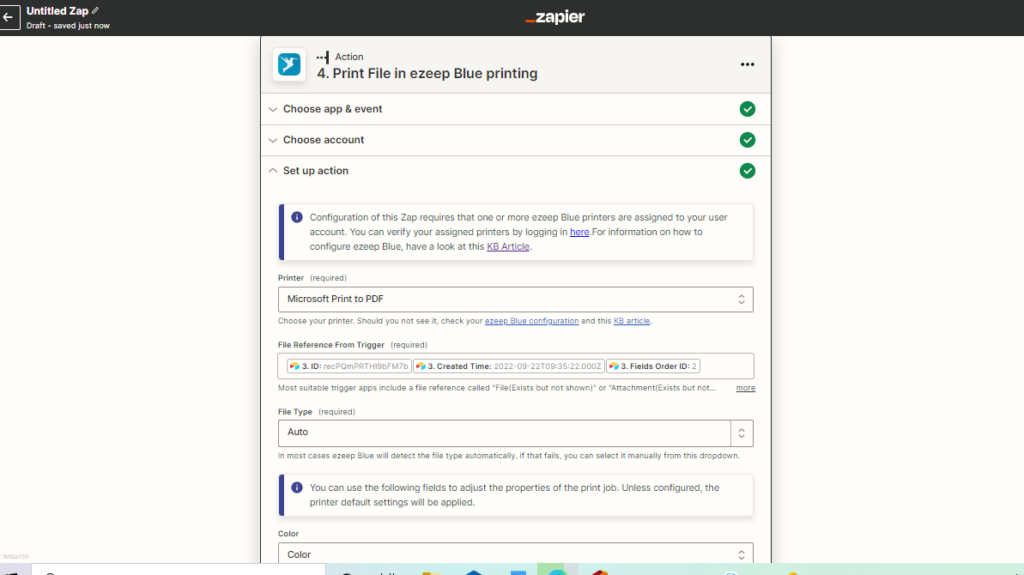
Send a copy of the label to your printer to test this action. You should be able to print a PDF similar to the screenshot below.
Click “Publish” once you are satisfied with your zap. Congratulations! You’ve just discovered a free way to automatically generate customized shipping labels.
5. Conclusion
The ability to manage your time effectively can be acquired by being aware of how you spend your time. You only have so much time to spare as a business owner. Task automation, however, can help you reclaim some of your time and ensure that your activities are directed towards the things you require.
Thank you for sticking with me this far!