Have you ever wished there was a way to automatically post new property listing images to your social media accounts?
Well, now there is! With Zapier.com, Airtable, and CraftMyPDF, you can easily automate this process so that new property listing images are posted to your social media accounts as soon as they’re available.

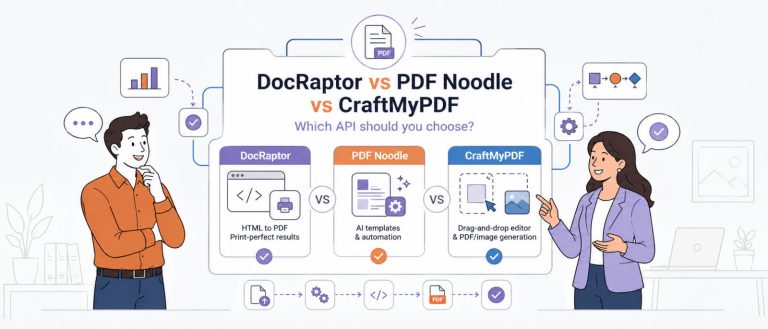
CraftMyPDF offers PDF Generation API and Image Generation API. We integrate with no-code platforms such as Zapier, Make.com, and Bubble.io and the integrations make it easy for you to generate content.
Why Automate the Manual Tasks?
There are many reasons why you would want to automate the manual tasks associated with posting new property listing images to social media accounts. Here are just a few:
- Improve Business Operations: By automating this process, you can free up time for your employees to focus on other tasks that are essential to your business. Additionally, you can avoid potential errors that could occur if this process was done manually.
- Save Time: By automating the process of posting new property listing images to social media, you can save a significant amount of time. This is especially beneficial if you have a large number of listings.
- Improve Customer Satisfaction: Your customers will appreciate being able to see new property listing images as soon as they’re available. This can help to build trust and loyalty, which are essential for any business.
- Reduce Costs: By automating the process of posting new property listing images to social media, you can reduce the costs associated with this task. This is especially beneficial if you outsource this task to a third-party provider.
The Steps to Automate Social Images
The followings are the steps to automatically create social images using CraftMyPDF from Airtable records and post the images to Facebook with Zapier.
In this tutorial, we are going to make use of the CraftMyPDF Image Generation API.
1. Getting Started with Airtable
Airtable is a cloud-based software that allows you to easily create and manage databases. You can use Airtable to store any kind of data, including information on new property listings.
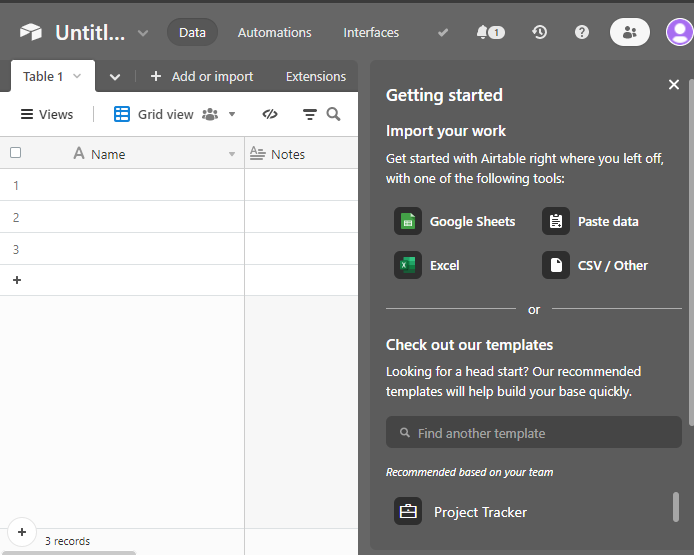
To get started, you’ll need to create a base and table in Airtable. If you’re not sure how to do this, don’t worry – it’s easy! Simply log in to your Airtable account and click on the “Add a base” button.
Once you’ve clicked on the Add a base button, you’ll be prompted to choose a name for your base and select a template.
For the purposes of this tutorial, we’ll be using the Blank base template.
Once you’ve selected the “Blank base” template, you’ll be taken to the Create your first table page. Here, you’ll need to enter a name for your table.
Importing Data: If you already have property listing data stored in another software, you can import it into Airtable. To do this, simply click on the tool from which you want to import the data.
Manually Adding Data: If you don’t have any property listing data to import, don’t worry – you can easily add it manually. To do this, simply click on the Add a record button and enter the relevant information.
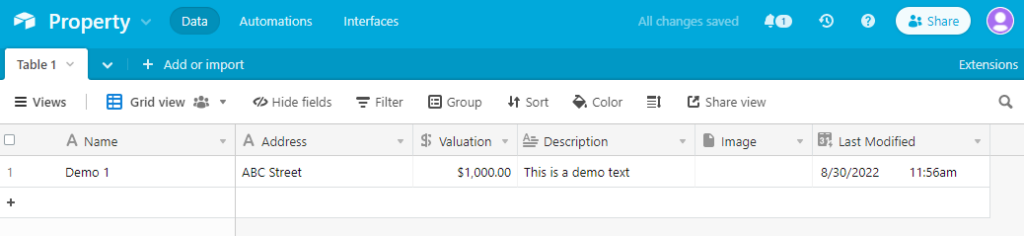
There are a few different fields that you’ll need to populate in order to automate the process of posting new property listing images to your social media accounts. These fields are as follows:
- Name: The name of the property listing.
- Valuation: The estimated value of the property listing.
- Description: A brief description of the property listing.
- Address: The address of the property listing.
- Last Modified: The date and time on which the property listing was last modified.
- Image: The image of the property listing. We will add the link to the image in this field.
You can add additional fields if you want, but these are the minimum fields that you will need to automate the process. You can also use the Image field for prepared listing visuals, not only raw property photos. For example, real estate teams can create AI interior or exterior design concepts with Paintit.ai, save the final image URL in Airtable, and let CraftMyPDF place that visual into the automated social media template.
2. Getting the API Key
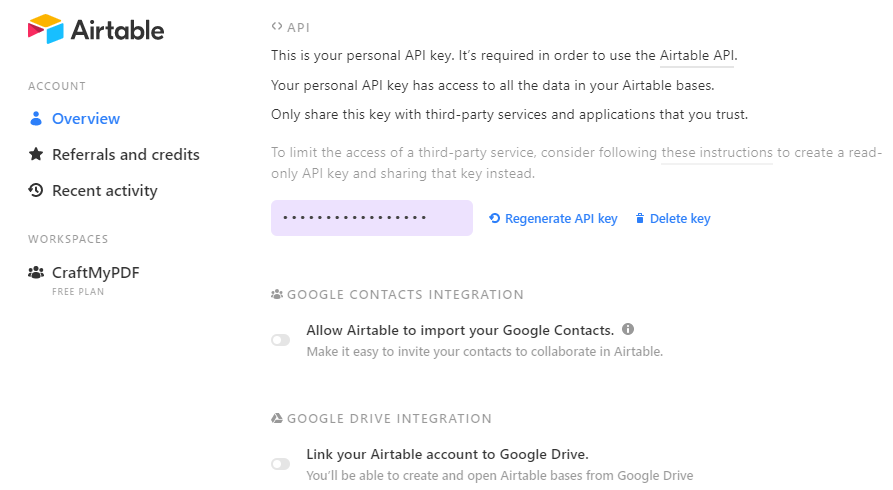
In order to automate the process of posting new property listing images to your social media accounts, you’ll need to generate an API key. To do this, simply login to your Airtable account and click on your name in the top-right corner of the screen. From the drop-down menu, select Account.
On the Account page, scroll down to the API keys section and click on the Regenerate API key button.
Once you’ve generated a new key, copy it and paste it into a text document for safekeeping. You’ll need this key in the next step.
3. Setting Up CraftMyPDF
CraftMyPDF is a great tool for creating PDF templates. With its advanced drag & drop editor, you can design PDF templates in any browser and generate pixel-perfect PDF documents from reusable templates and data with no-code platforms or REST API. This makes it extremely useful for users who need to create PDF documents from scratch or who need to edit existing PDF templates.
First, we are going to create an account on CraftMyPDF, then we will create an image template for our property listing. To do this, follow the steps below:
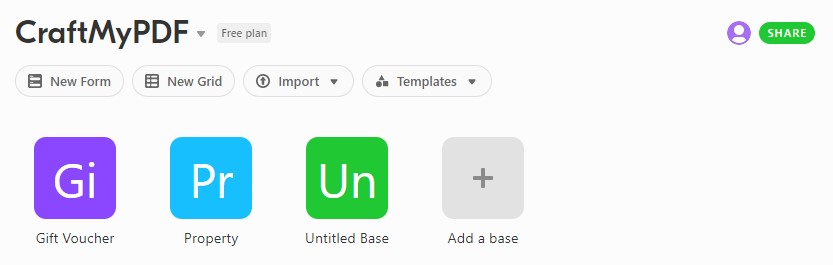
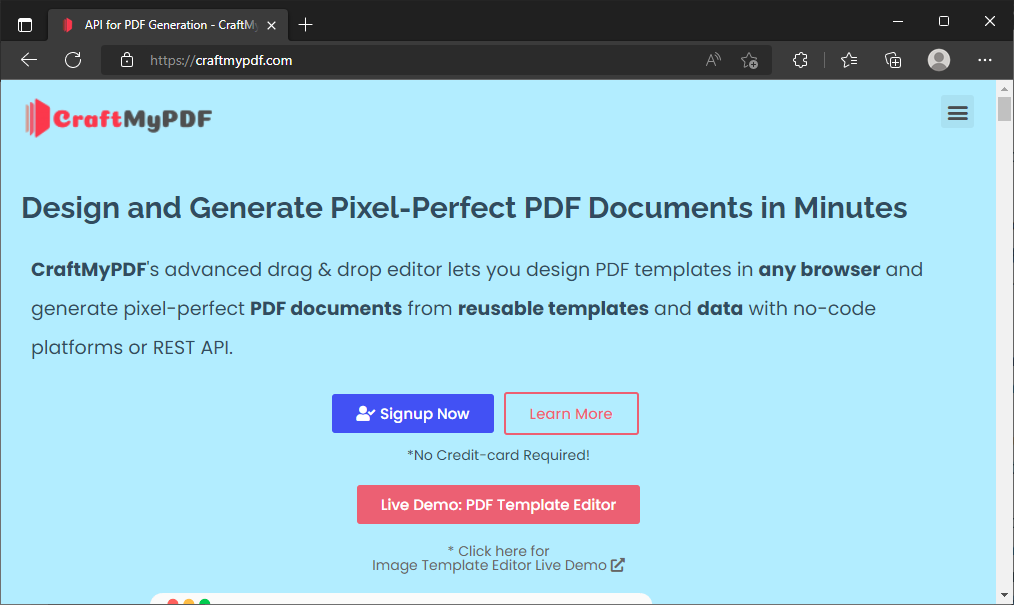
(i) Go to the CraftMyPDF website and sign up for a free account.
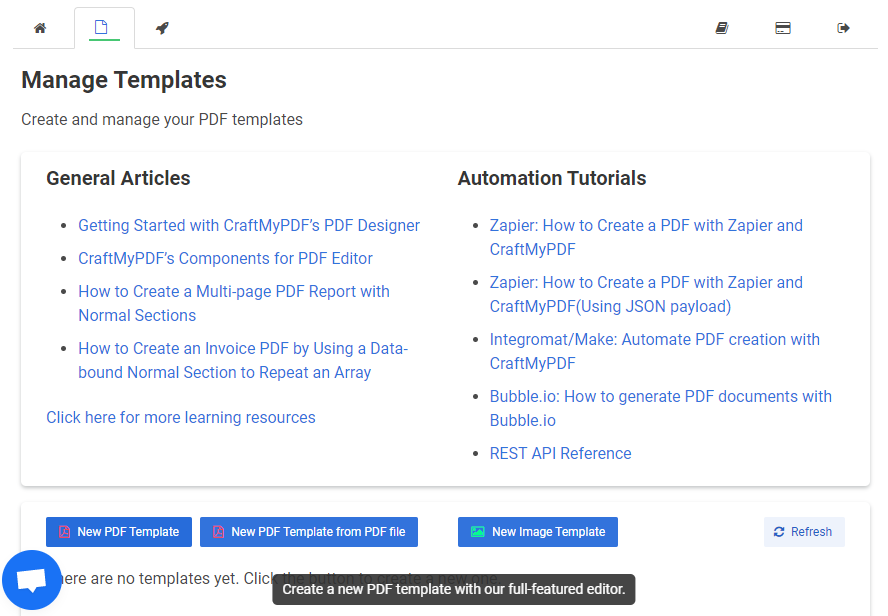
(ii) After signing up, click on Manage Templates at the top and then New Image Template at the bottom to create a new Image template.
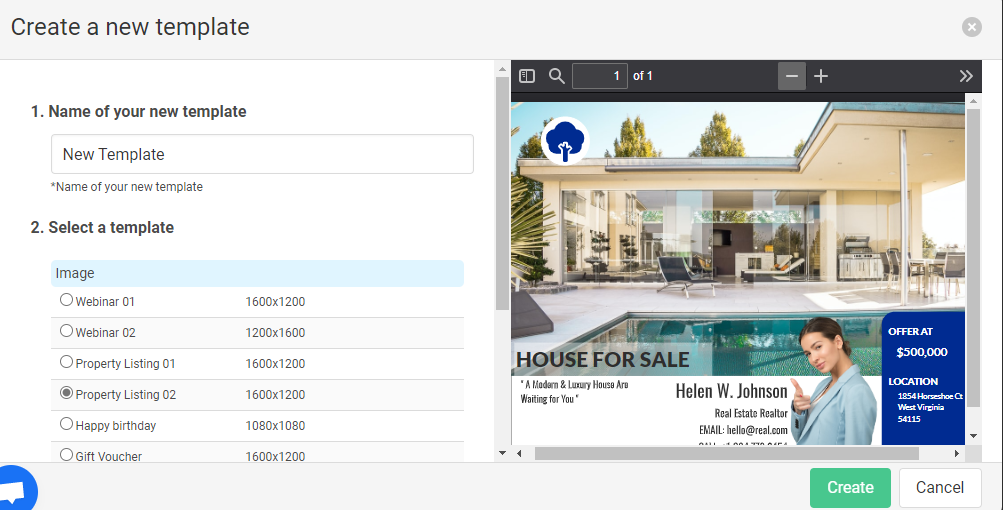
(iii) After that, give a name to your new template and select a predefined template to start with. For this example, we are going to use the Property Listing 02 Then click on the Create button.
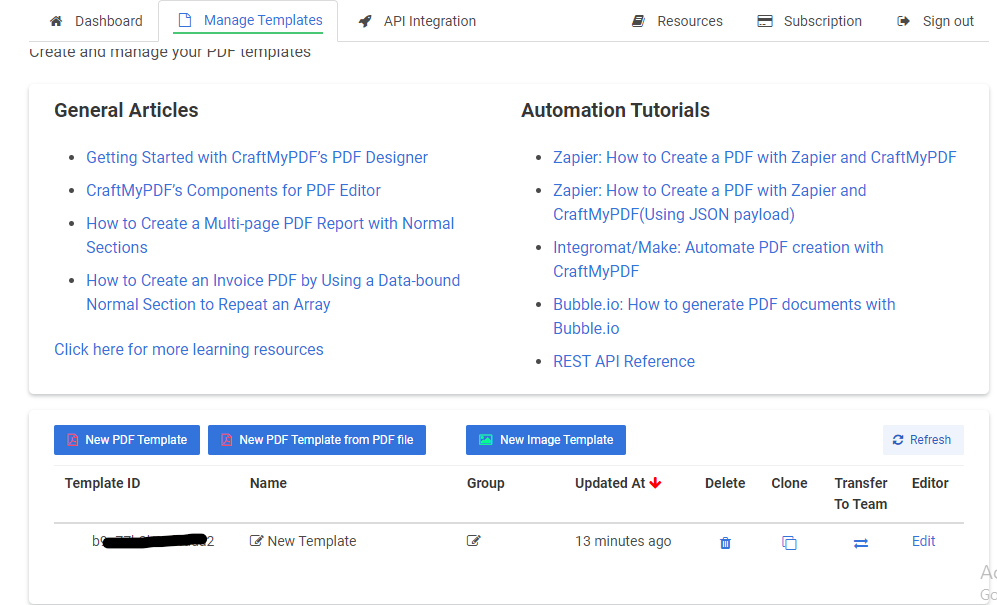
(vi) Now you can see the template in your dashboard with a template ID. Copy the template ID and go to the API Integration tab.
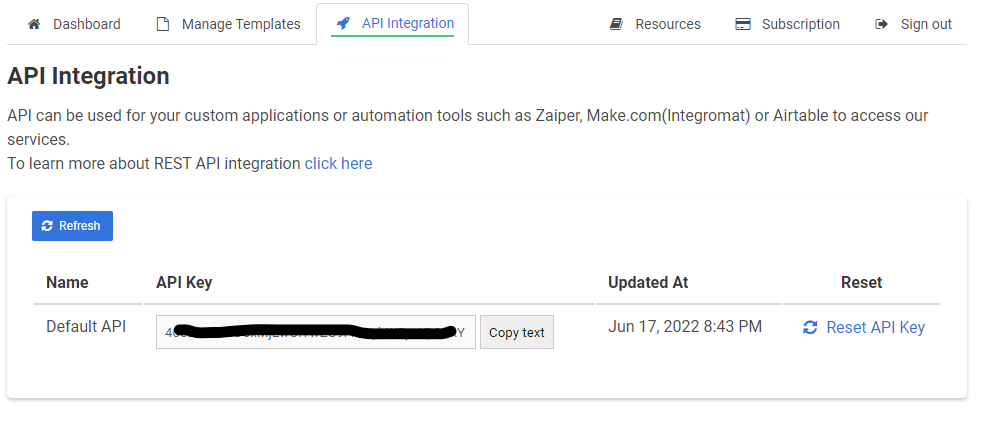
(v) Now copy the API Key. We will need it in Zapier.
Now everything is ready and we can start working with Zapier.
4. Setting up the Zap
Now that you have your Airtable and CraftMyPDF account set up and you have your API keys, you’re ready to set up the Zap. If you’re not familiar with Zapier, it’s a software that allows you to automate tasks between different software platforms.
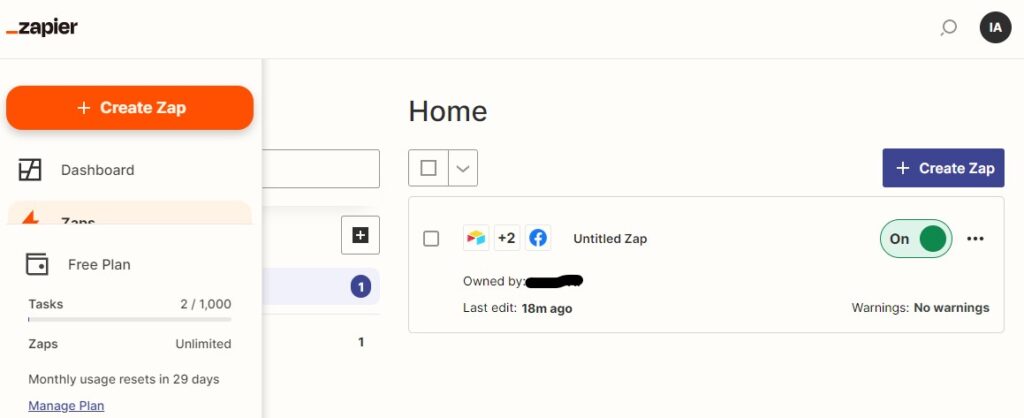
(i) To get started, log in to your Zapier account and click on the “Create Zap” button.
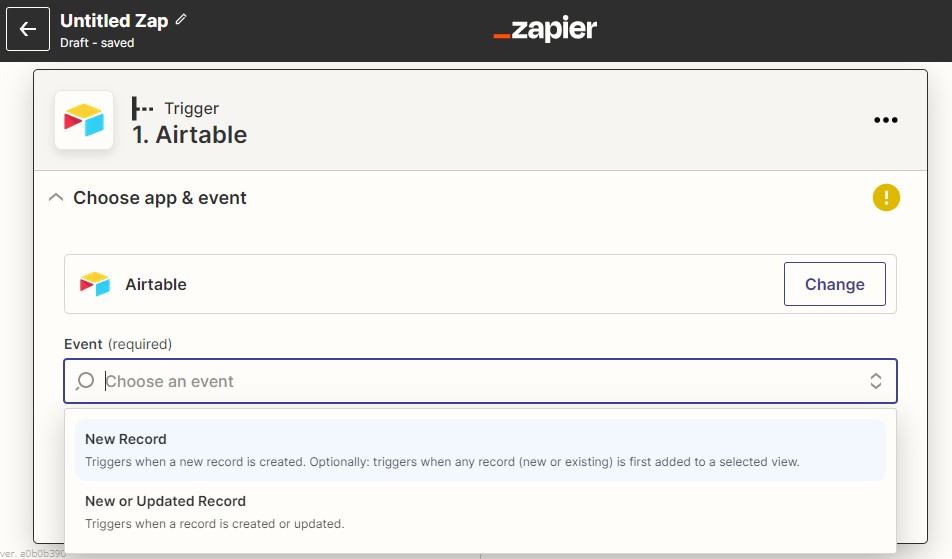
(ii) On the Choose a trigger app page, search for Airtable and select it from the list of results. After that, on the Choose an action page, search for New Record and select it from the list of results.
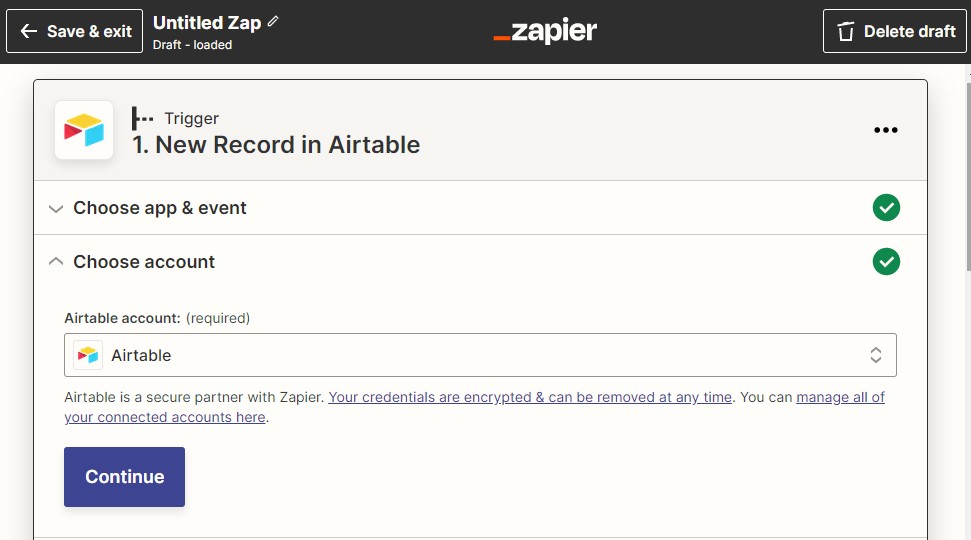
(iii) On the Connect an Account page, you’ll be prompted to enter your Airtable API key. We generated this key in the previous step. Simply paste it into the API Key field and click the Yes, continue button.
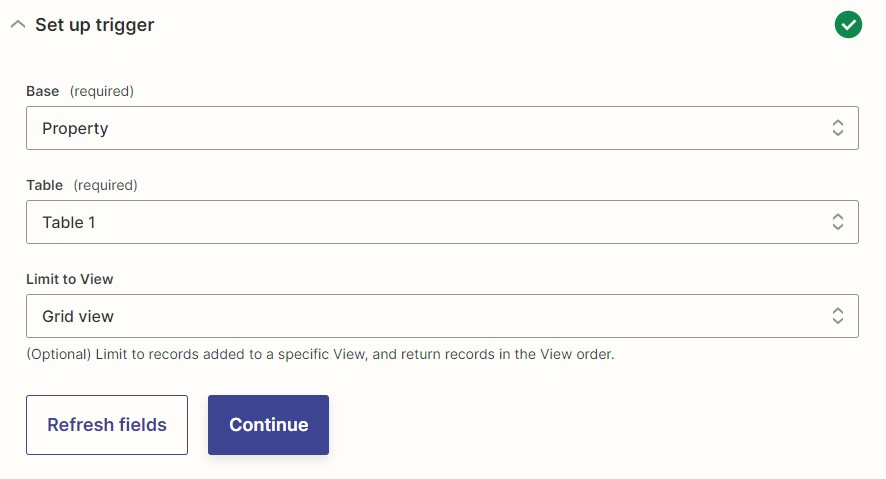
(vi) On the Set up trigger page, select the table and base name from the dropdown and click on the Continue button.
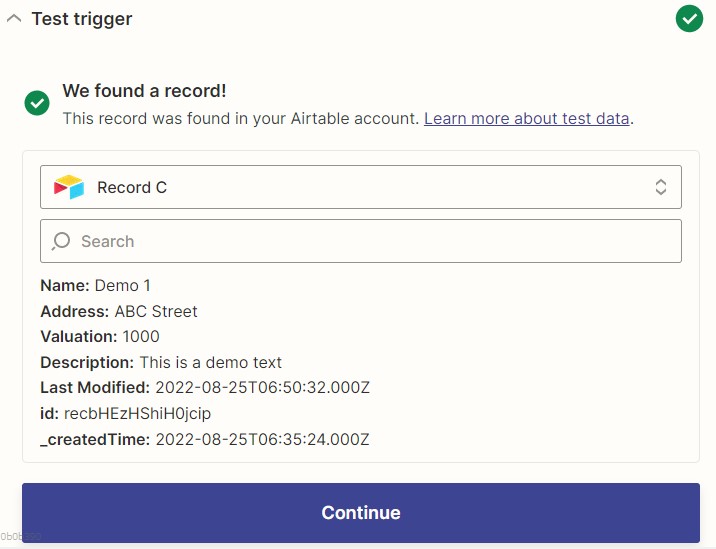
(v) On the Test trigger page, click the Fetch & Continue button.
4.1 Create an Image
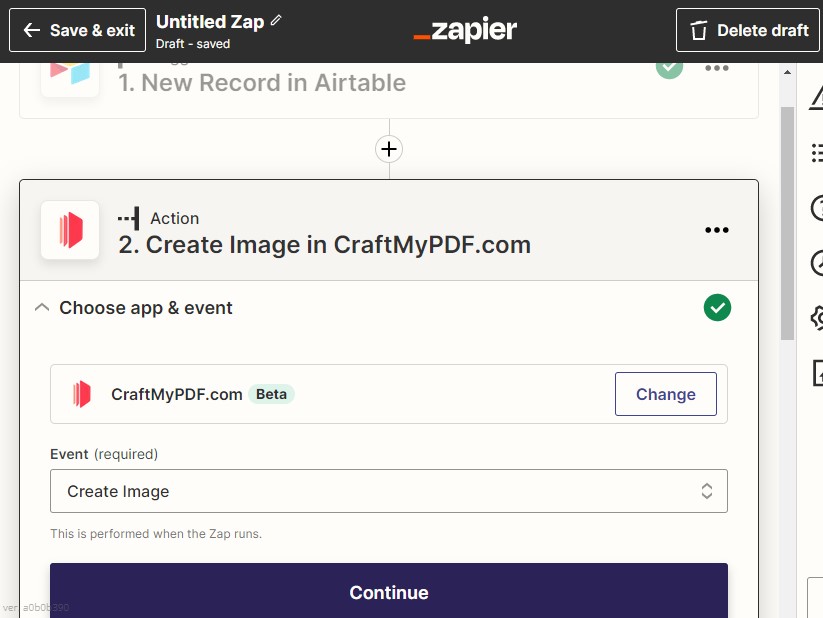
(i) Now, click on the plus sign below the trigger, and select CraftMyPDF from the list of apps.
On the Choose an action page, select Create Image from the list of options.
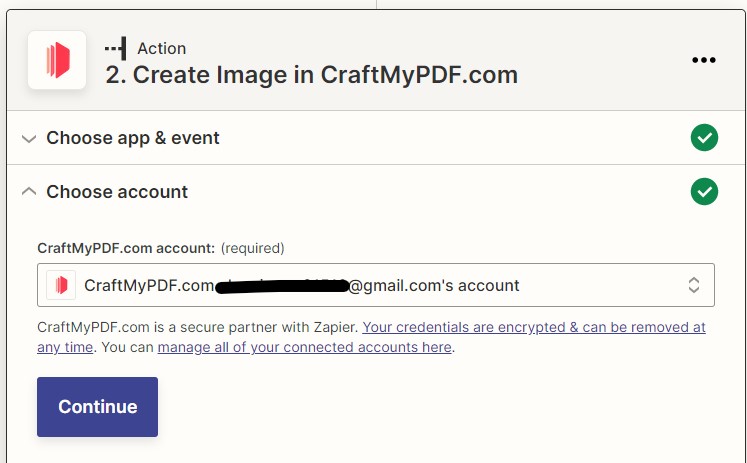
(ii) On the Connect an Account page, you’ll be prompted to enter your CraftMyPDF API key. We generated this key in the previous step. Simply paste it into the API Key field and click the Yes, continue button.
(iii) On the Set up action page, Select your Template, Payload type, and Enter a name for the Output file.
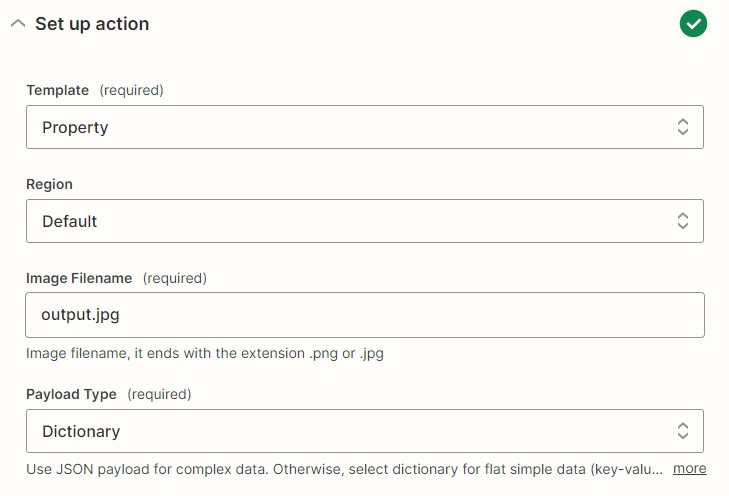
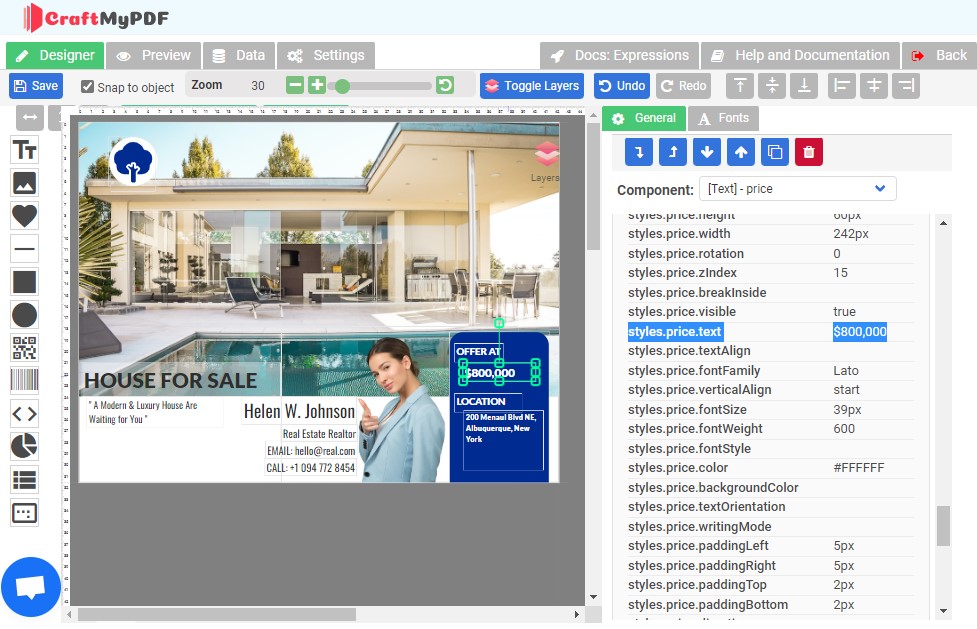
(iv) After that, you have to enter the keys and the values that you want to send. To find the key name, we have to go to our CraftMyPDF dashboard.
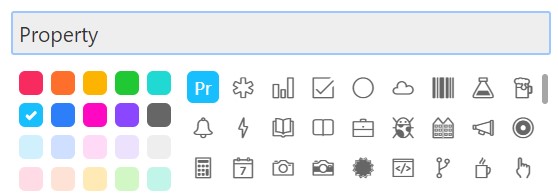
On the Image template, Click on the Edit button. Select any element and Scroll to the bottom and you can see the Key name in the Overridable Properties section.
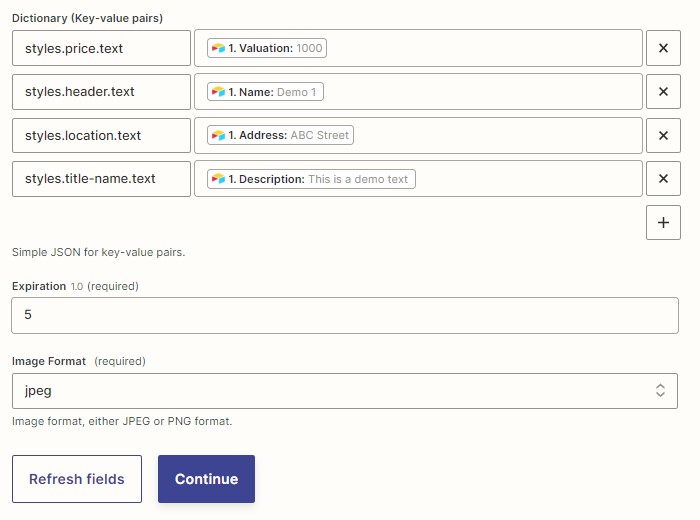
(v) Now for the Value textbox, Select the value from the data we are getting from the Airtable’s record. After that, click on the Continue button.
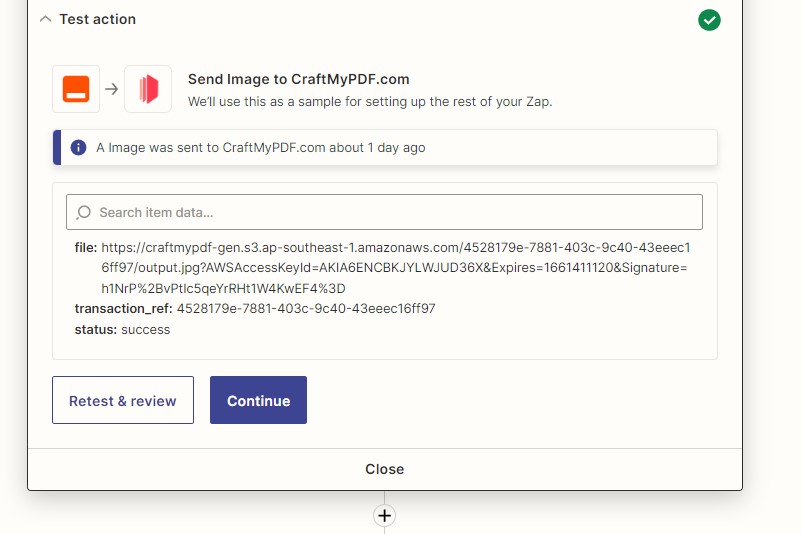
(vi) On the Test & Continue page, click on the Continue button.
4.2 Update Image in Airtable record
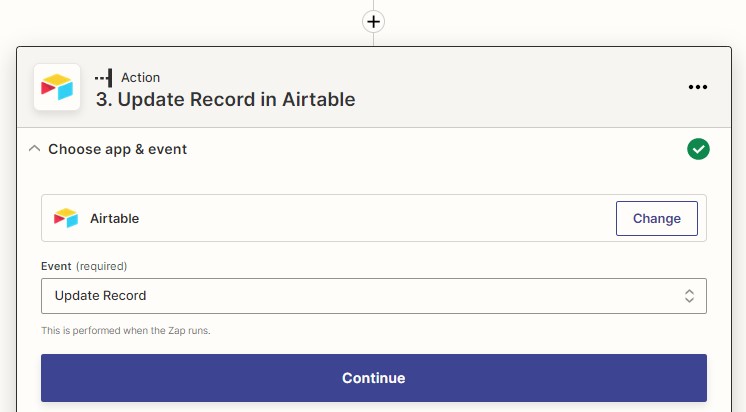
(i) Now, click on the plus sign below the trigger 2, and select Airtable from the list of apps.
On the Choose an action page, select Update Record from the list of options.
(ii) On the Connect an Account page, you’ll be prompted to enter your Airtable API key. We generated this key in the previous step. Simply paste it into the API Key field and click the Yes, continue button.
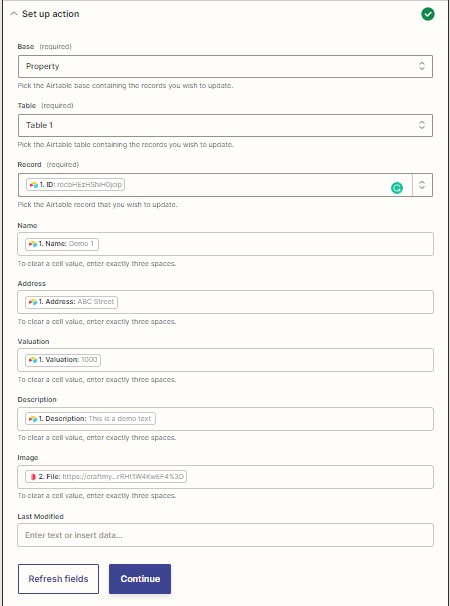
On the Set up action page, Select your base and table name from the dropdown and after that, select the value for every field in the record. For the Image field, Select the File received from CraftMyPDF.
On the Test & Continue page, click on the Continue button.
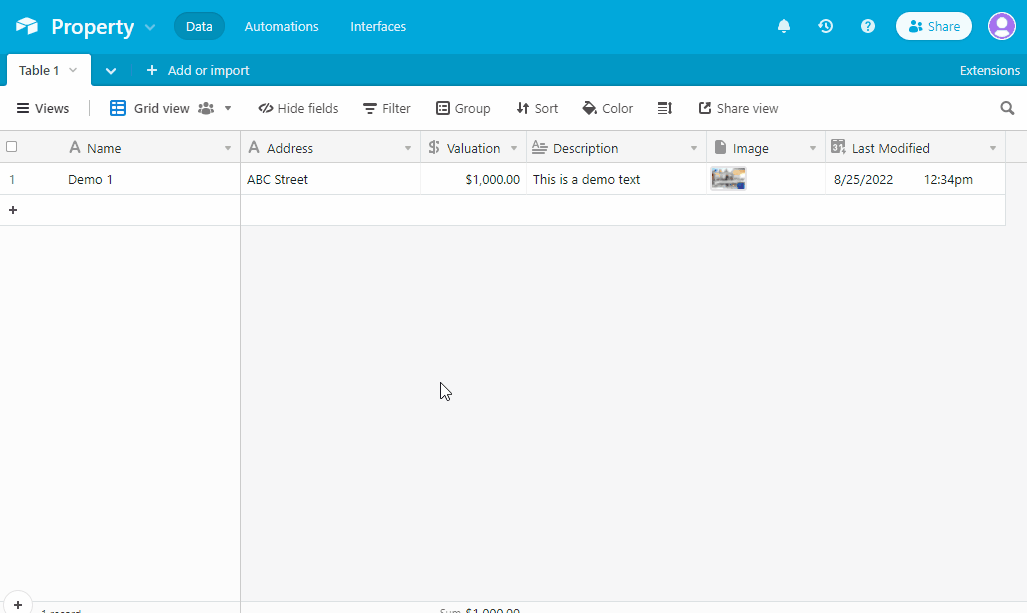
(iii) Now if you publish this zap and add a new record in Airtable you will see that the Image field will get populated automatically.
4.3 Automating Facebook Posting
Now we will see how we can post the image we just generated on our Facebook profile using Zapier.
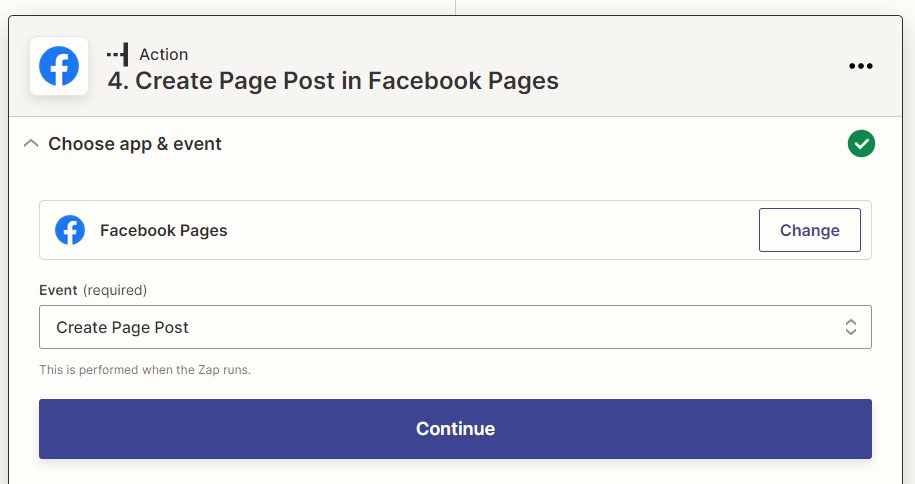
(i) Click on the “plus” sign below the trigger 3 and select Facebook from the list of apps.
On the Choose an action page, select Create Page Post from the list of options.
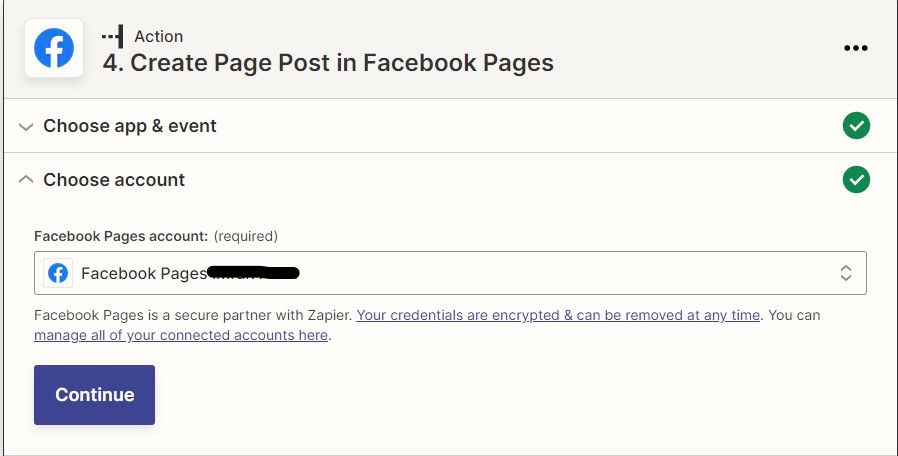
(ii) On the Connect an Account page, you’ll be prompted to enter your Facebook credentials. After you’ve entered your credentials and clicked the Log in button, you’ll be taken to the Set up action page.
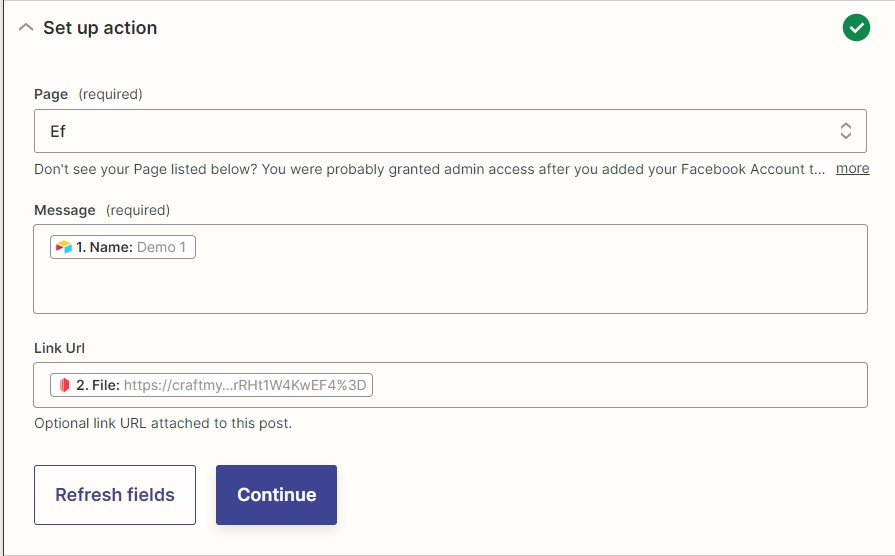
(iii) On the Set up action page, you’ll need to select the Facebook page where you want to post the image. After that, enter the file link that you received from CraftMyPDF in the Link Url section and enter a message for the image. When you’re done, click the Continue button.
(iv) On the Test & Continue page, you should see a preview of the image and caption that you’re about to post. If everything looks good, click the Continue button.
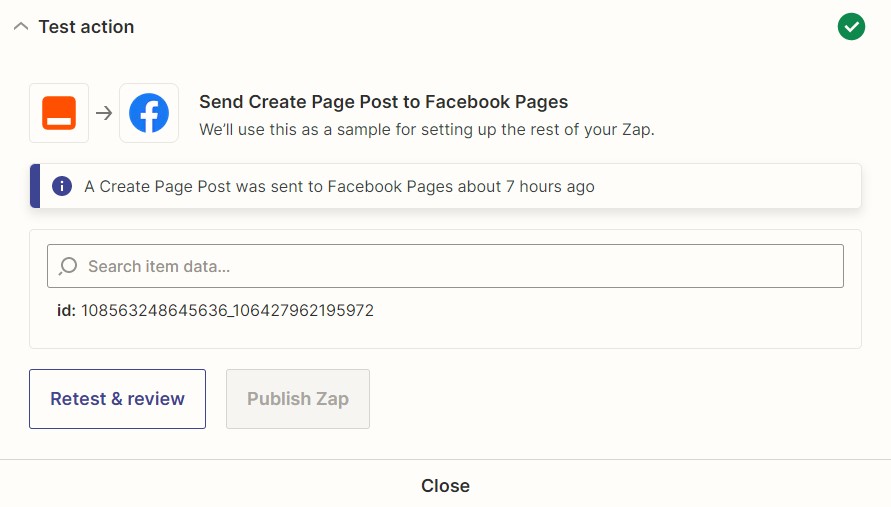
And that’s it! You’ve now successfully set up a Zapier zap to automatically post new property listing images to your Facebook page as soon as they’re available.
Conclusion
Now that you know how to automate the posting of new property listing images to your social media accounts, you can save yourself a lot of time and effort.
This Zapier zap will make sure that your social media accounts are always up-to-date with the latest listings, so you can focus on other aspects of your business. You can also automate other social media sites like Instagram, Pinterest, and Twitter in a similar way.
That’s all for the tutorial! Remember to sign up for an account for free and experience our PDF and Image generation API.