Have you ever wanted to generate gift card images automatically? With Make.com, now you can!
In this tutorial, we will show you how to use Make.com to automate the creation of gift voucher images from Airtable and send the gift cards automatically to customers.

The key takeaways of this tutorial are:
- Create an automated workflow with Make.com, Airtable, and CraftMyPDF
- Use overridable properties to make changes directly to an image/PDF template and generate images/PDFs.
- Unlike the data bindings with Expressions, an overridable property allows you to directly modify the property of an element such as font size, color, background color, and rotation.
- Use Dictionary as the payload type in Make.com action to send simple key-value-pairs data.
What are Gift Vouchers?
A gift voucher is a prepaid card that can be used as full or partial payment for goods or services. Gift vouchers are a popular present and are often given for birthdays, Christmas, or other special occasions.
They are a great way to boost sales and increase brand awareness. By giving customers the option to purchase gift vouchers, you can encourage them to spend more money at your store.
Gift vouchers can also be used as marketing tools to promote your brand.
The information on a gift voucher typically includes:
- The recipient’s name (optional): This is the name of the person who will be using the gift voucher.
- The amount and validity period: This is the amount of money that the gift voucher can be used for, and the period of time during which it can be used.
- A signature: This is the signature of the person who issued the gift voucher.
- Outlet location and contact details: This is the address and contact information for the store where the gift voucher can be used.
- Terms and conditions: This is a list of terms and conditions that apply to the use of the gift voucher.
Gift cards come in a variety of sizes, but the most common sizes are:
- Standard: 85.60 mm x 53.98 mm
- Mini: 63.5 mm x 38.1 mm
The Steps to Automate Gift Voucher
Now that you know what gift vouchers are and what information is typically included on them, let’s take a look at how to create gift voucher images with Make.com.
1. Getting Started with Airtable
Airtable is a cloud-based database tool that offers a more user-friendly alternative to traditional spreadsheet software. With its easy-to-use interface and powerful features, Airtable is ideal for managing small to medium-sized databases.
It is particularly useful for managing data that is constantly changing or needs to be updated regularly. It also makes it easy to share data with others and collaborate on projects.
To get started, follow the steps below:
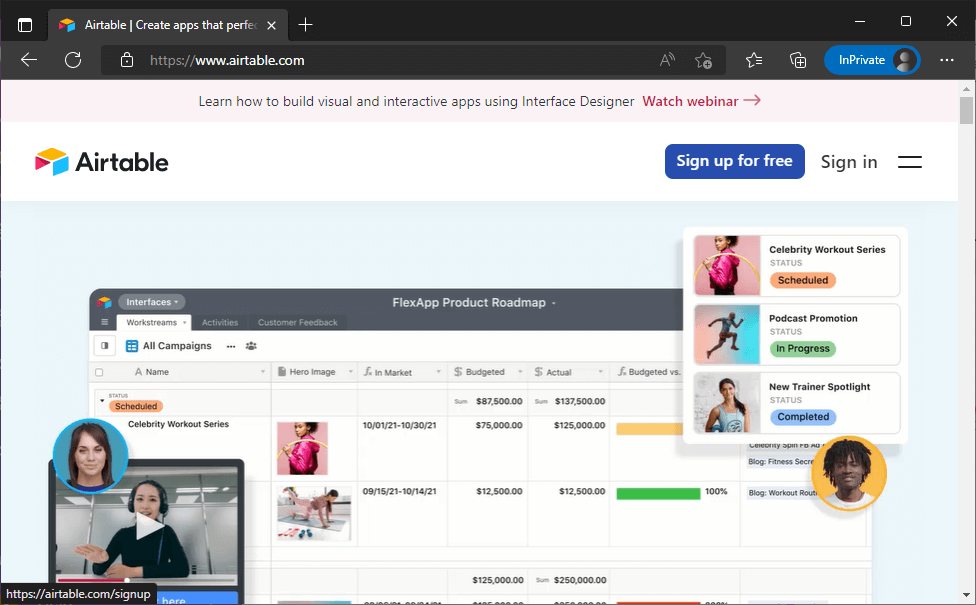
Step 1: Go to Airtable’s website and click on the Sign-up button to create a free account.
Step 2: Click on the Add a Base button to add a new base and give a name to your base. For this tutorial, we are going to give the name Gift Voucher.
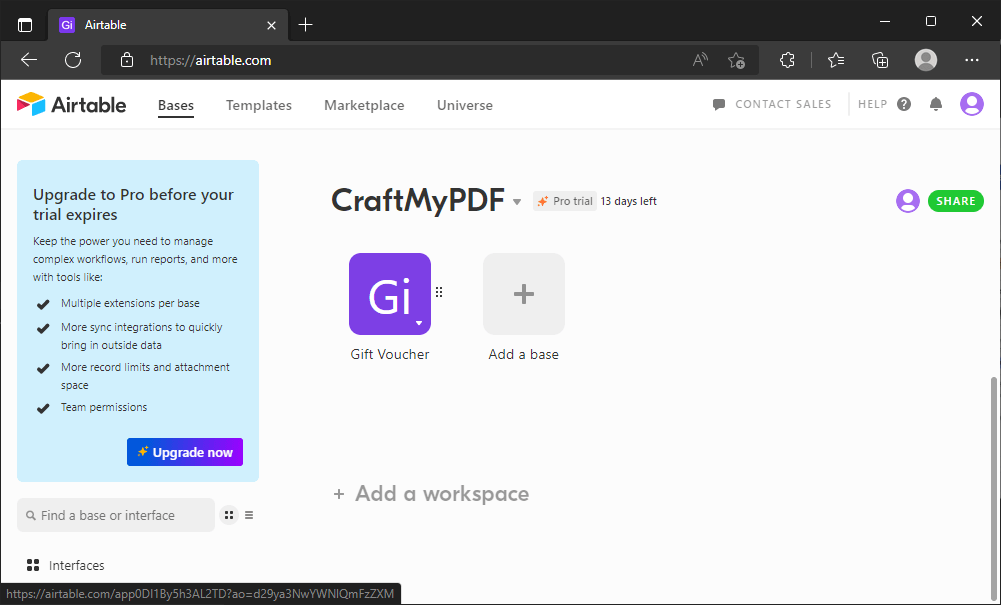
Step 3: Now open the base that you created, here you can import your data or you can manually add them to your table.
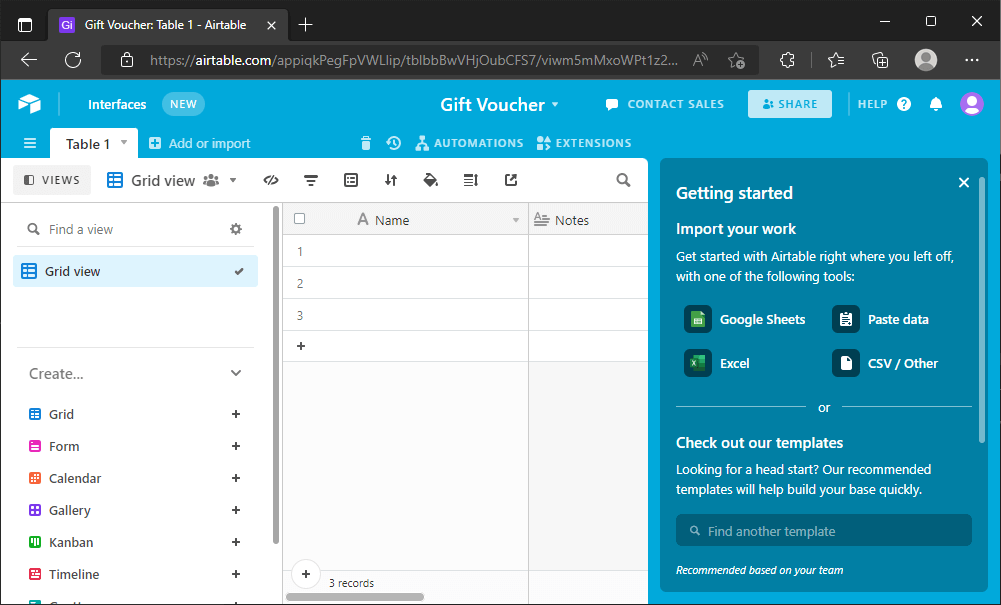
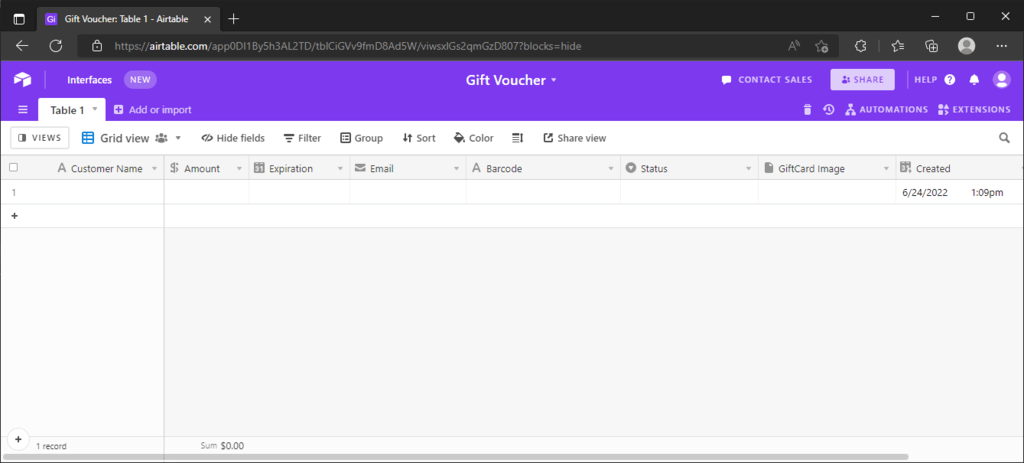
For this tutorial, we are going to create the table manually and we will be using the following fields:
- Customer Name: The customer’s name.
- Amount: The amount of the gift card.
- Expiration: The expiration date of the gift card, it’s a date field.
- Barcode: Barcode of the gift card, it’s a text field.
- Email: This is an email field where we input the customer’s email address.
- Status: This is a single select field with values of empty, Pending, and Done. We use this field to track the status of the gift card.
- Gift card Image: An attachment field where we upload an image of the gift card.
- Created: Created time field that shows when the field was created.
You can add additional fields if you want, but these are the minimum fields that you will need in order to generate gift voucher images.
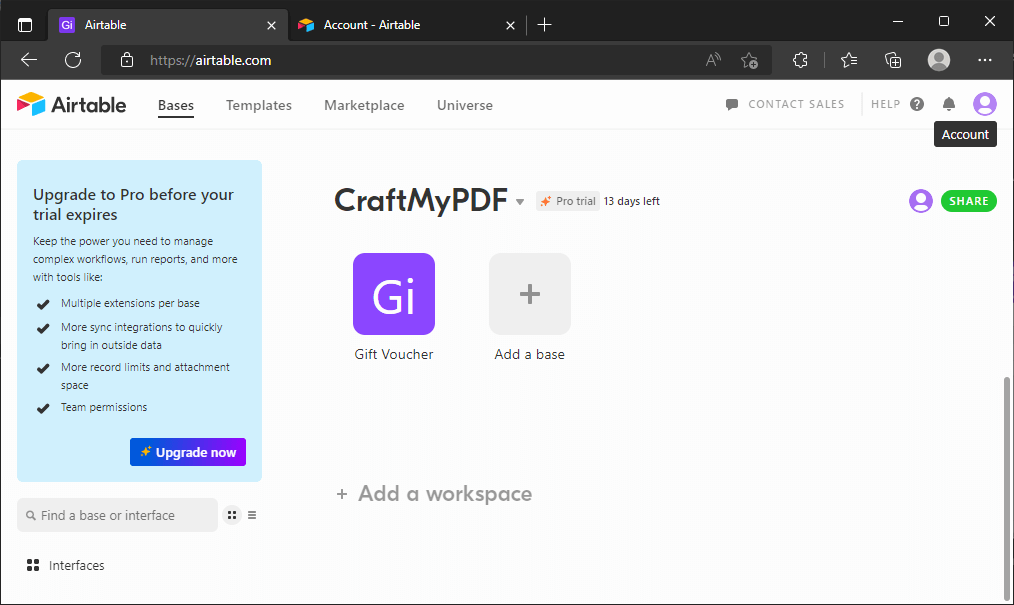
Step 4: Now we need the API key to access this table from Make.com . To do this, follow the below steps:
- Go to your Airtable’s dashboard.
- Click on the Accounts button in the top right corner.
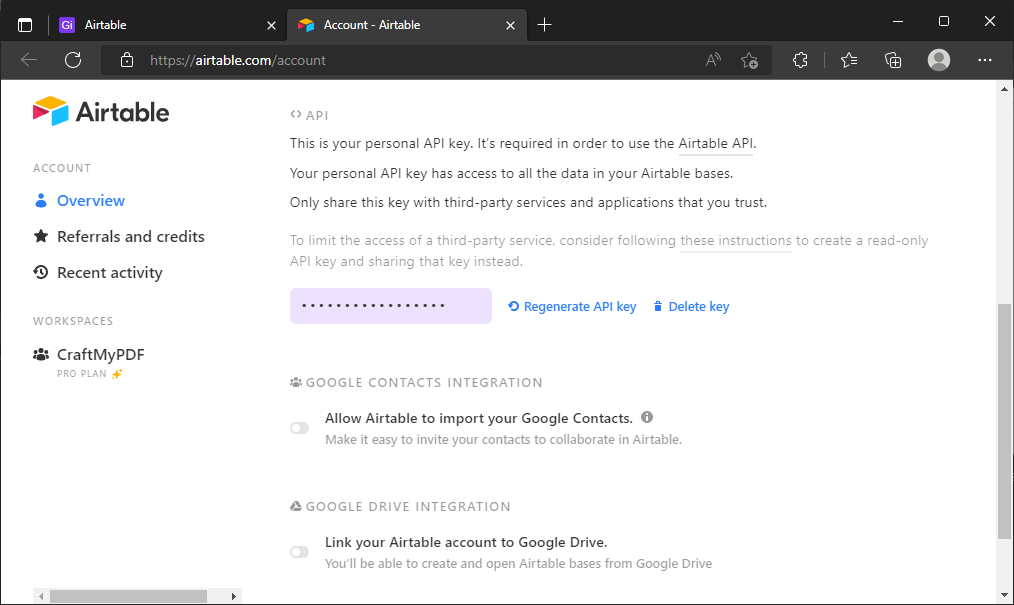
Step 5: Scroll down to the API section and copy your API key. We will need that later in this tutorial.
That’s it. Now we are ready to move on the next step.
2. Setting Up CraftMyPDF
CraftMyPDF is a great tool for creating PDF templates. With its advanced drag & drop editor, you can design PDF templates in any browser and generate pixel-perfect PDF documents from reusable templates and data with no-code platforms or REST API.
This makes it extremely useful for users who need to create PDF documents from scratch or who need to edit existing PDF templates.
You can also use similar techniques to overlay text on image CSS for personalized graphics and dynamic visual content.
First, we are going to create an account on CraftMyPDF, then we will create an image template for our gift voucher. To do this, follow the steps below:
Step 6: Go to the CraftMyPDF website and sign up for a free account.
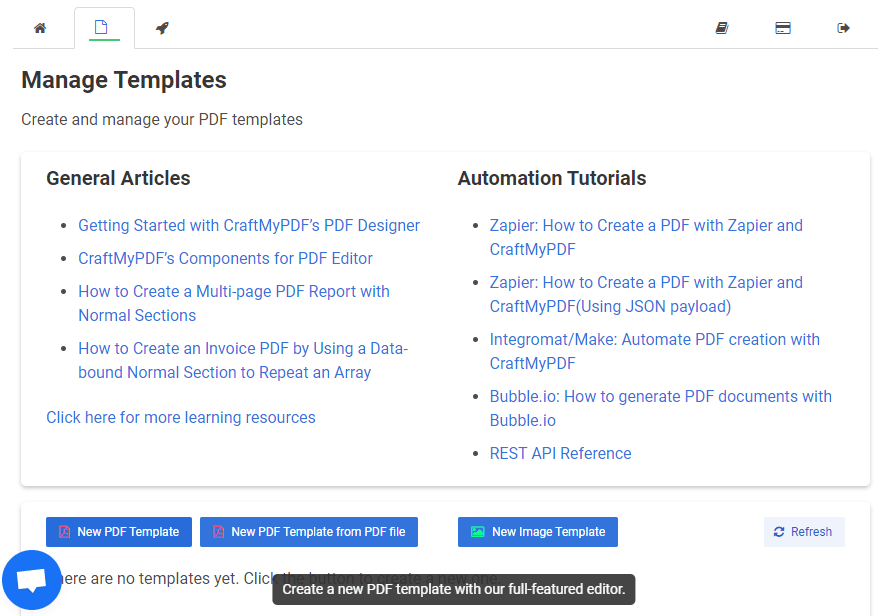
Step 7: After signing up, click on Manage Templates at the top and then New Image Template at the bottom to create a new Image template.
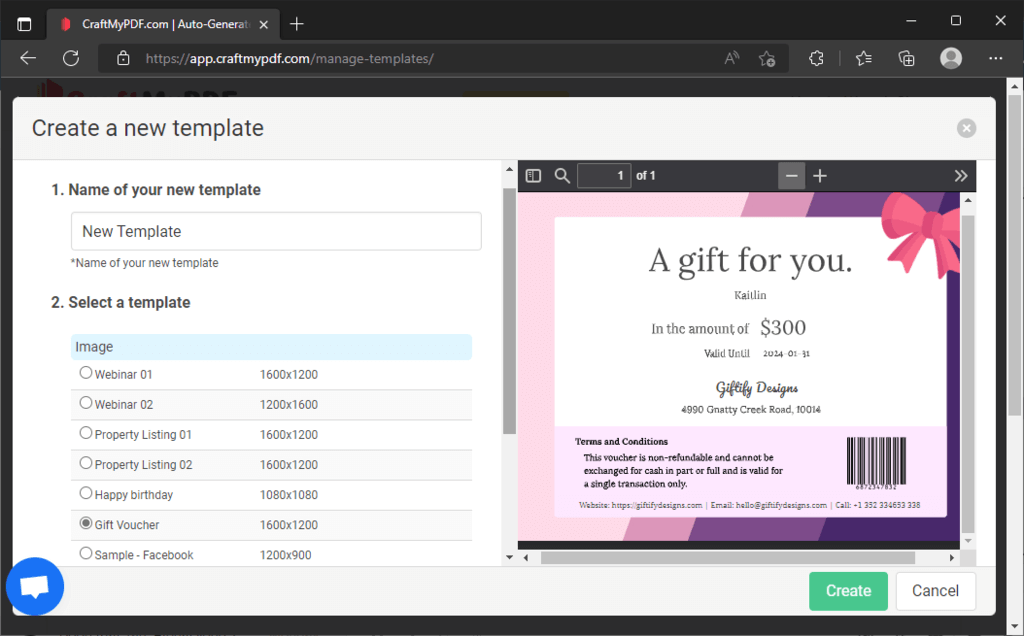
Step 8: After that, give a name to your new template and select a predefined template to start with. For this example, we are going to use the Gift Voucher and Then click on Create button.
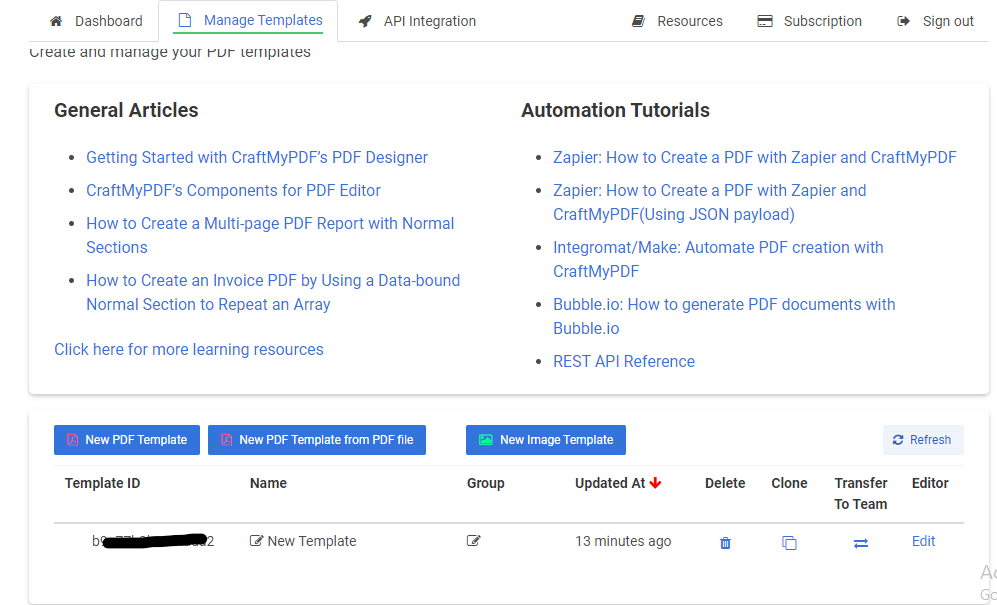
Step 9: Now you can see the template in your dashboard with a template ID. Copy the template ID and go to the API Integration tab.
Step 10: Now copy the API Key. We will need that when we create a scenario in Make.com .
Now everything is ready and we can start creating the scenario in Make.com .
3. Creating Scenario in Make.com
Make.com is a powerful visual platform that allows you to build and automate anything in one place. With Make, you can visually create workflows that are limited only by your imagination.
Traditional no-code integration and automation platforms are linear and non-intuitive, but Make makes it easy to build and automate complex processes.
With Make, you can easily connect tasks, apps, and systems to create a streamlined workflow.
In order to create a scenario, we need to create an account on Make.com. To do this, follow the steps below:
3.1 Setup Make.com Scenario
Step 11: Go to Make.com and click on the Get started for Free button to create a free account.
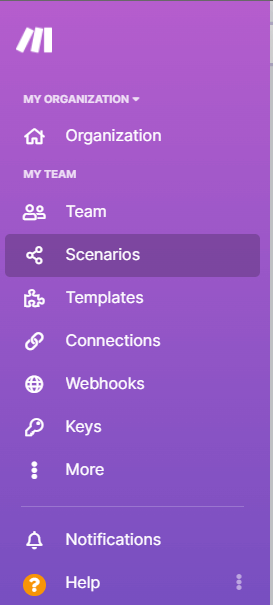
Step 12: After creating the account, you’ll be redirected to your dashboard. Click on the Scenarios button on the left navigation bar.
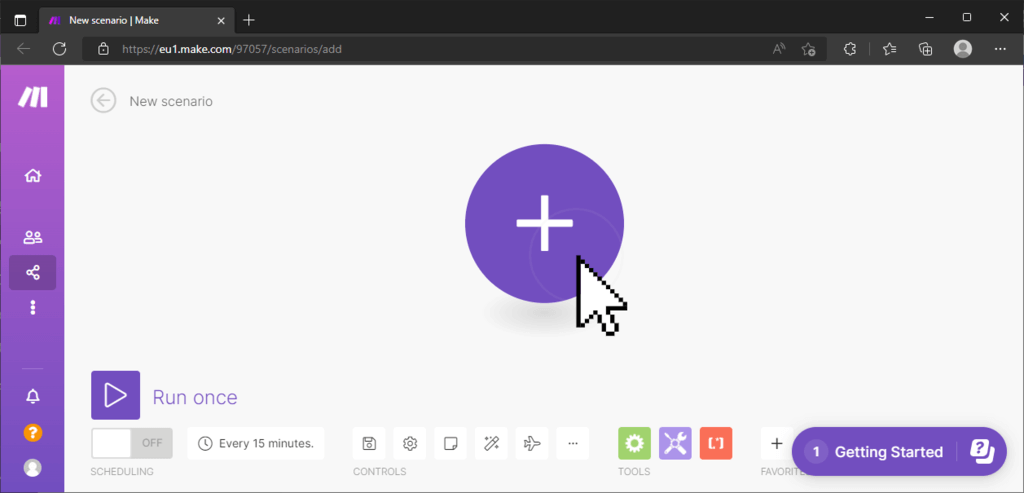
Step 13: Here you can see all the scenarios that you created. To create a new scenario, click on the Create a new Scenario button in the top right corner.

Now we can start creating our scenario.
3.2 Create an Airtable Trigger
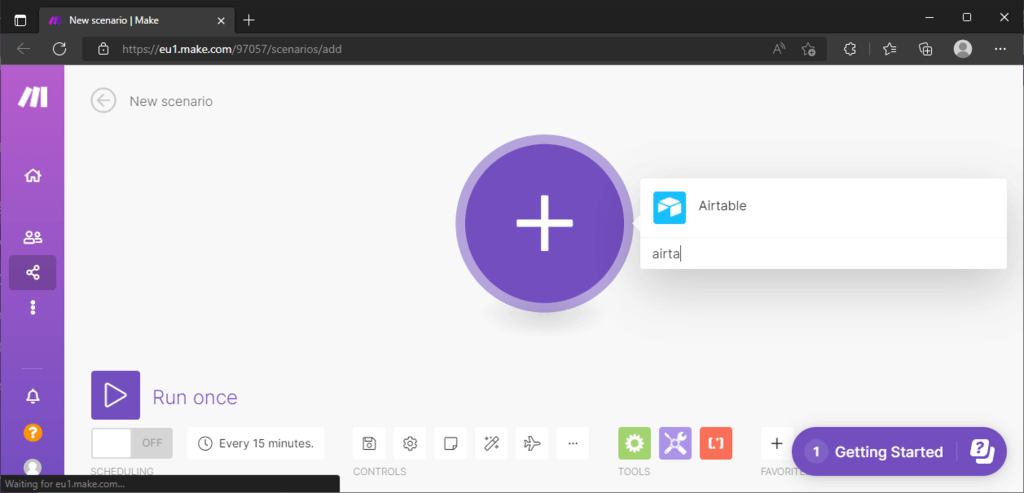
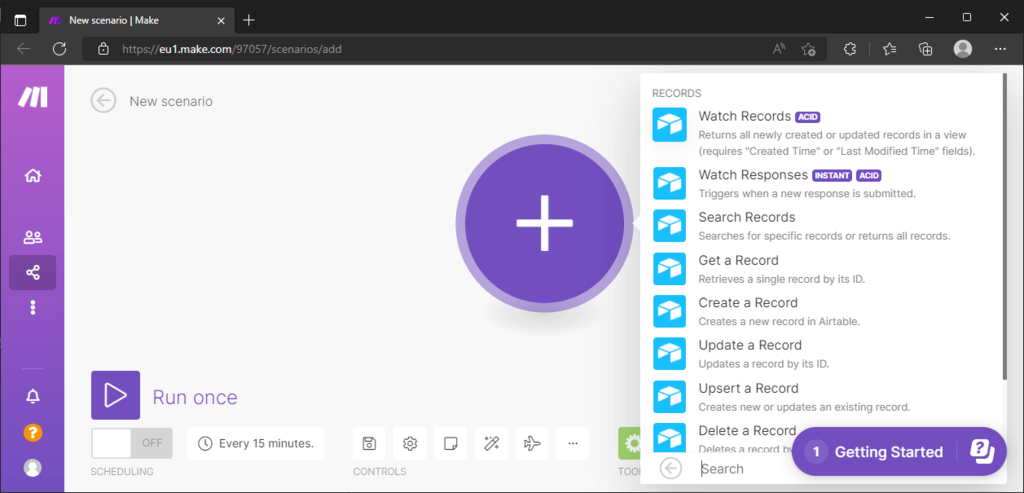
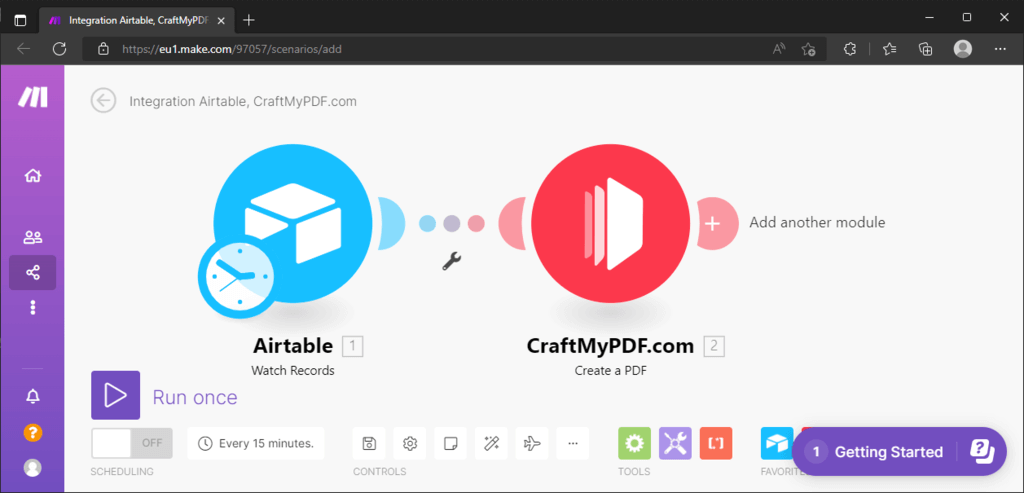
Step 14: First we are going to connect Airtable because we want to trigger this scenario every time a field is added or updated in our table. Click on the plus icon and search for Airtable.
Step 15: Now you can see a bunch of actions that we can do on our records. Select the Watch Records option. This action will return the data of the newly created or updated record in a view.
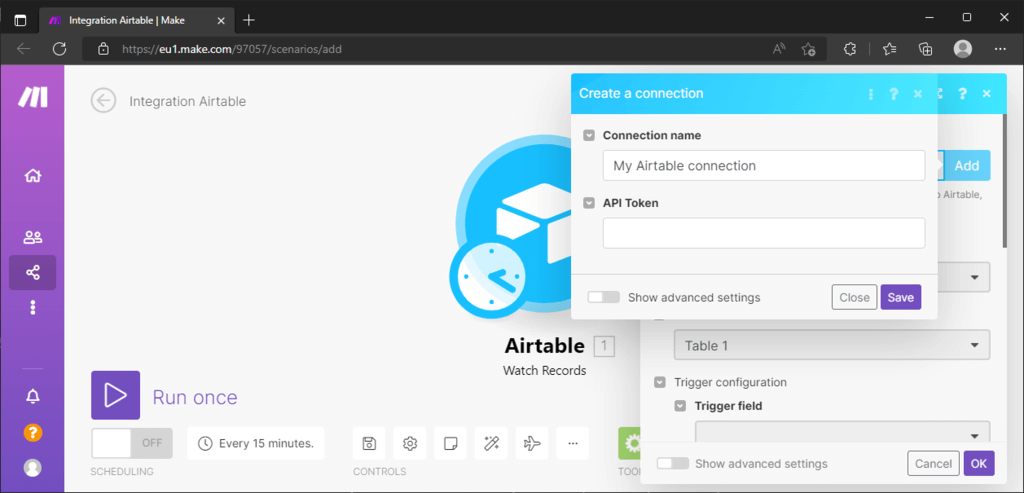
Step 16: After selecting the option, click on the Add button and you will be prompted to enter an API key. Paste the Airtable’s API key that we copied in the previous step.
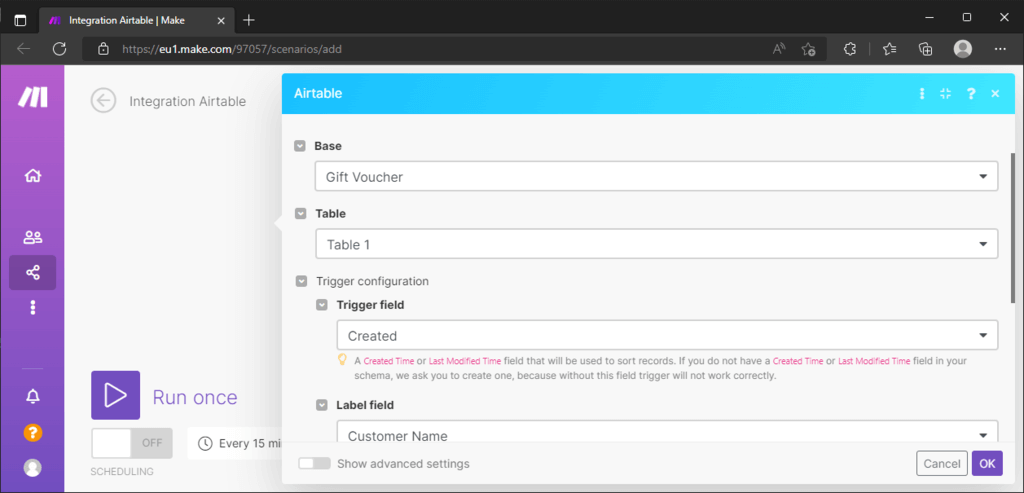
Step 17: After that, you have to select your base in the Base dropdown, table in the Table dropdown, Created field in the Triggered Field dropdown, and Customer Name field in the Label field dropdown. Then click on the OK button.
Now we have to connect the CraftMyPDF module with our Airtable module. To do this, follow the steps below:
3.3 Create a CraftMyPDF action
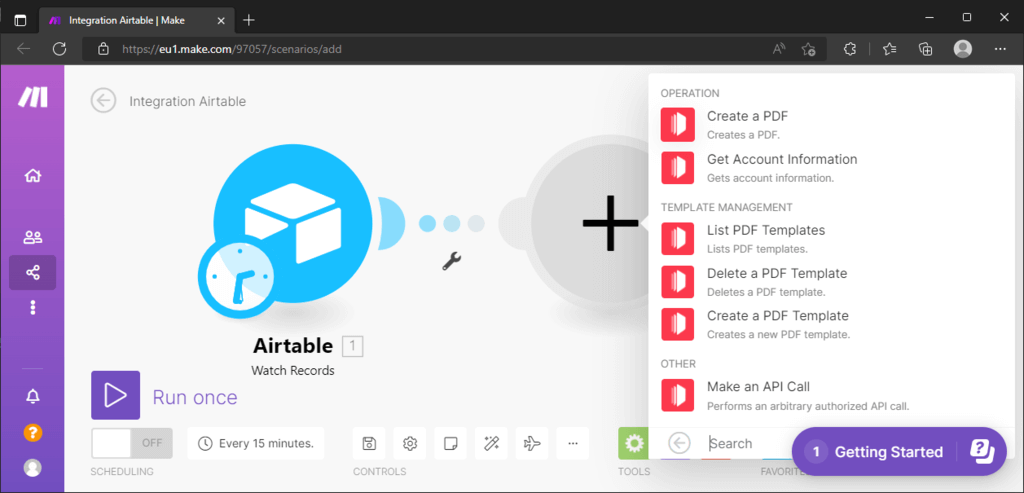
Step 18: Click on the Add another module button and search for CraftMyPDF.
Step 19: Select the Create a PDF(or Create an Image) option.
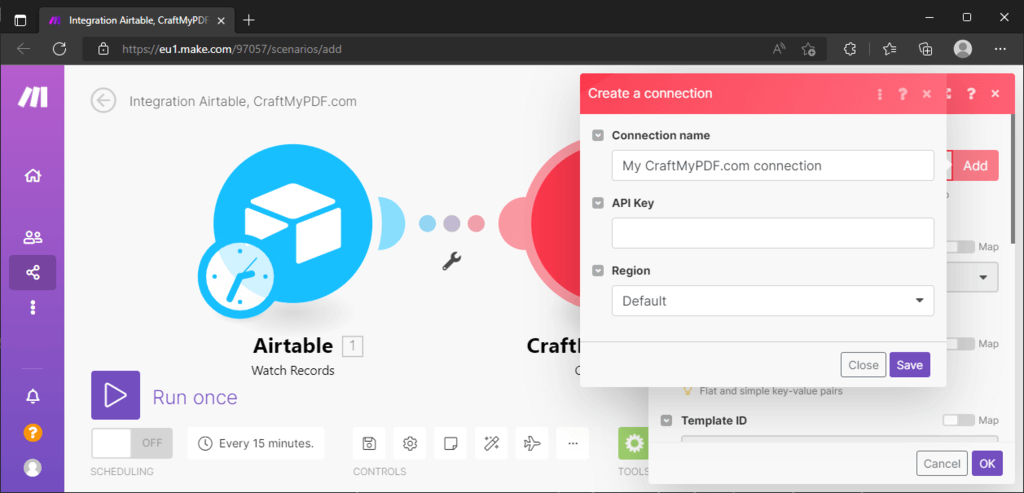
Step 20: Click on the Add button and paste the API key that you copied from your CraftMyPDF dashboard.
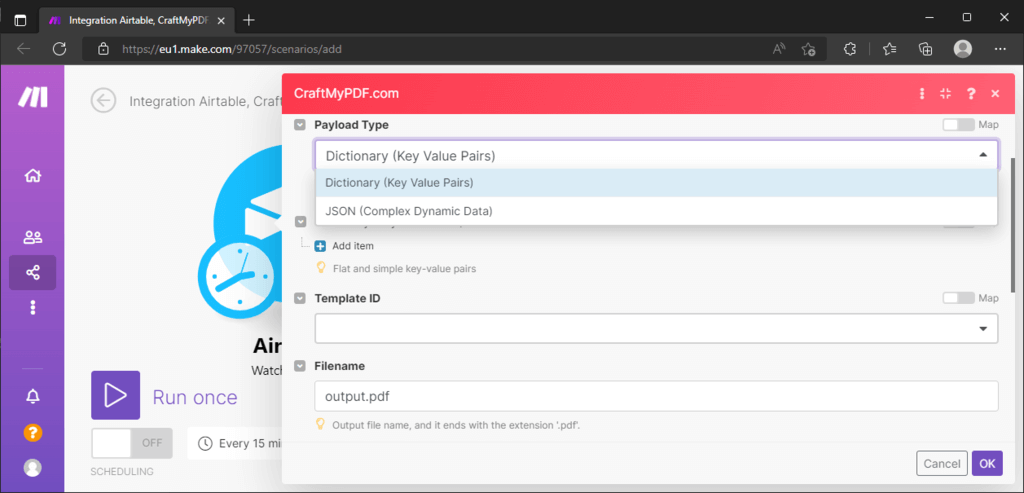
Step 21: Now you have to fill Payload Type, Key-Value Pairs, and Template ID.
The payload type indicates the format of the data being sent, the followings are the payload types and the use-cases.
- Dictionary(Key-value pairs) is used for simple key values
- JSON Data: JSON is used for more complex dynamic data.
- Schema of Data: This option auto-generates input fields from the sample data in the Data tab in the template editor. This is the simplest way to create payload data.
To learn more about how to handle payload data, visit the tutorial for more details.
For this tutorial, we are only sending simple data that’s why we are going to choose Dictionary.
Now we have to enter the keys and the values that we want to send. To find the key names, we need to go to find it in the CraftMyPDF template editor. The next step is to go back to CraftMyPDF and get those keys.
3.4 Getting the overridable properties from CraftMyPDF
On CraftMyPDF, navigate to the Manage Template page. Click on the Edit button to edit the template.
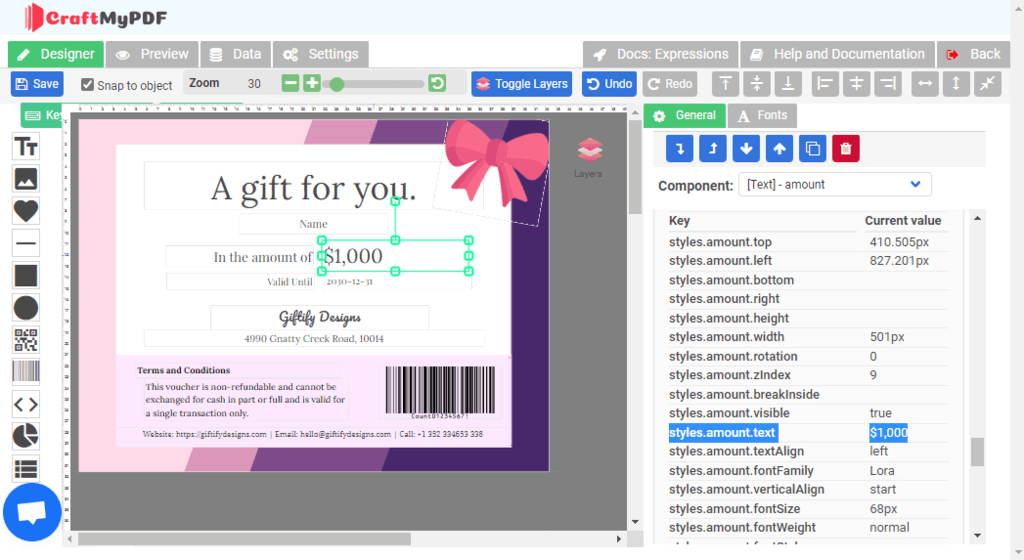
To find the keys, select any element in the template editor by clicking on them. In the property panel on the right, scroll down to the bottom and you may see the Keys in the Overridable Properties section.
What’s an overridable property?
The overridable properties are displayed in the General section of the property panel on the right of the editor. Overridable properties are the changes you want to make to the element. Unlike the data bindings with Expressions, an overridable property allows you to directly modify the property of an element such as font size, color, background color, rotation and etc during PDF or image generation.
Click here to learn more
In this example, we select the amount element. On the right, we scroll down to the bottom of the property panel until we reach the Overridable Properties, then we copy the key styles.amount.text because we are going to change the value of it in Make.com
We are going to change the amount, name, and expiration date of the voucher. The followings are the keys we are going to change:
- styles.amount.text
- styles.name.text
- styles.date.text
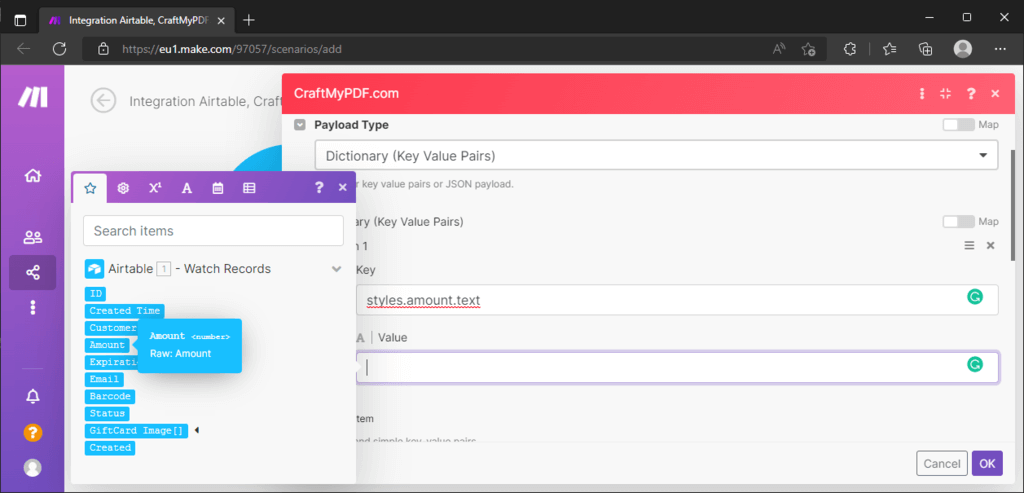
Now enter the keys into the key fields in Make.com and for the Value textbox, select the value from the data we are getting from the Airtable’s record.
Next, select the voucher for your template ID from the dropdown.
Step 22: Click on the OK button and that’s it.
Now we also need to update the Status and Giftcard Image field in our table. To do this, follow the steps below:
3.5 Update the status field in Airtable
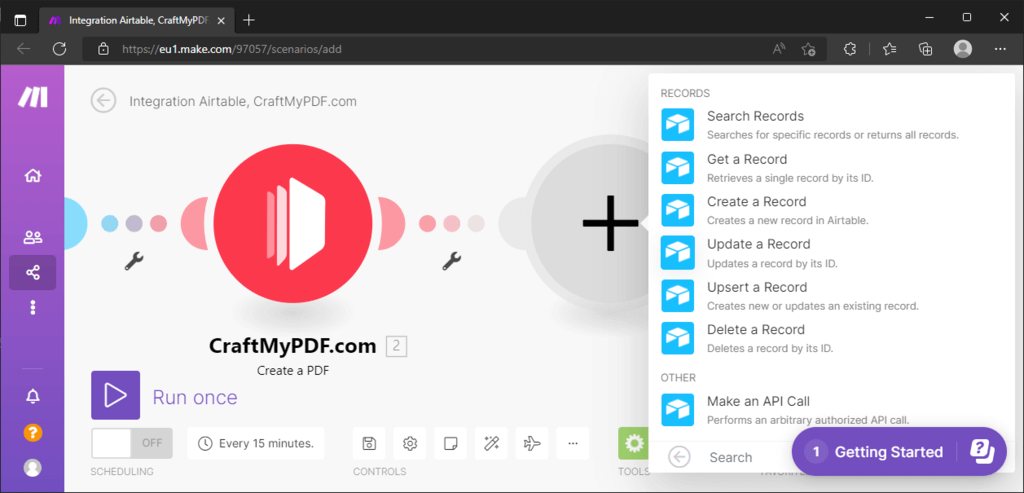
Step 23: Click on the Add another module button.
Step 24: Search for and select Airtable.
Step 25: Select the Update a Record option.
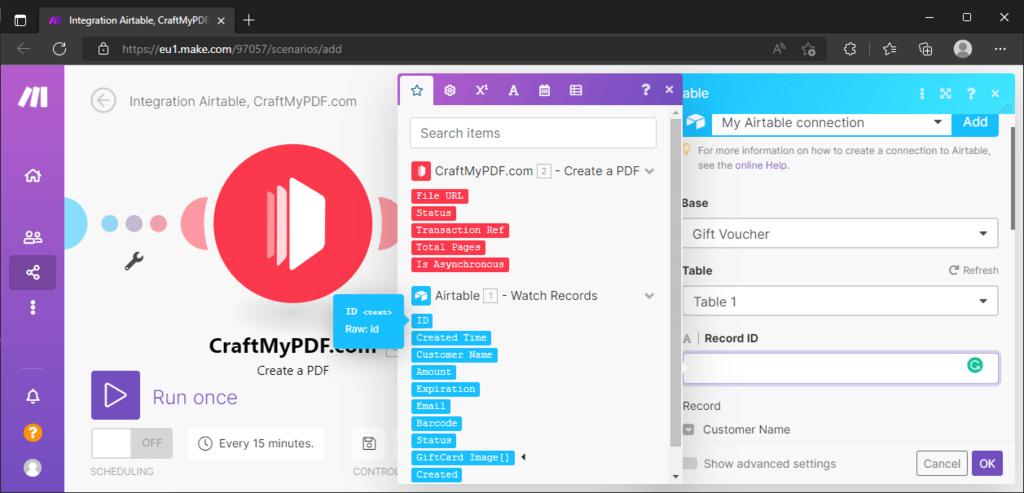
Step 26: Enter your API key and Select your base and table. For Record ID textfield, select the ID that we are getting from our first Airtable module.
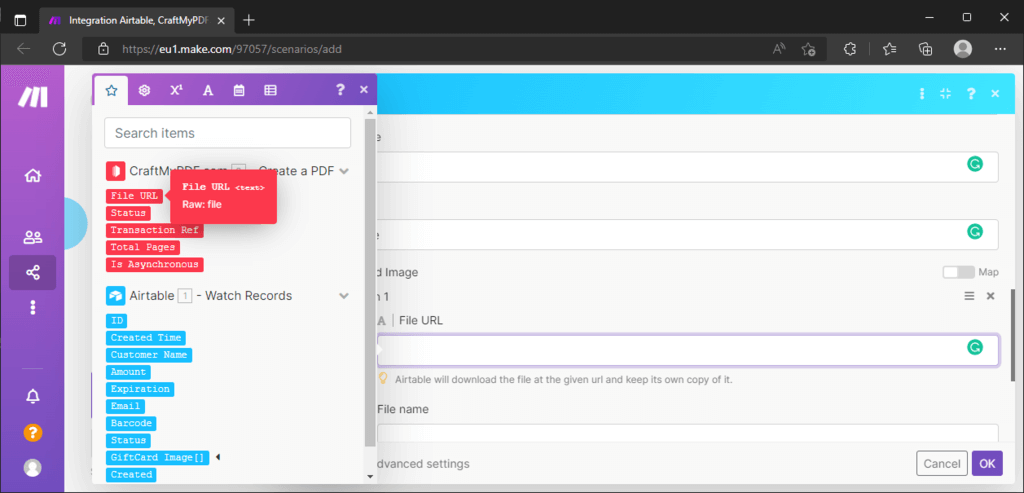
Step 27: Now in the Record section, Enter Done in the Status text field, and select the FILE URL for the Giftcard Image section.
3.6 Running the Scenario(Video)
Now our scenario is almost ready. We can try it by adding a new record to our table and clicking on the Run Once button in the scenario.

4. What’s next? Send out an Email
Now we also want to send the Gift voucher to the Email ID of the candidate. To do this, we are going to use the Gmail module of Make.com . It’s very easy to do, you just have to follow the steps below:
Step 28: Click on the Add another module button.
Step 29: Search for and select Gmail.
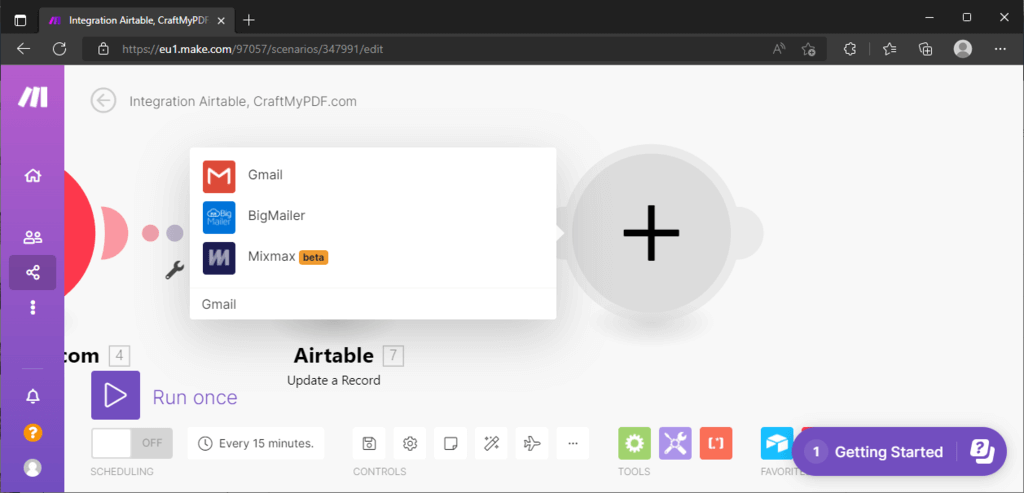
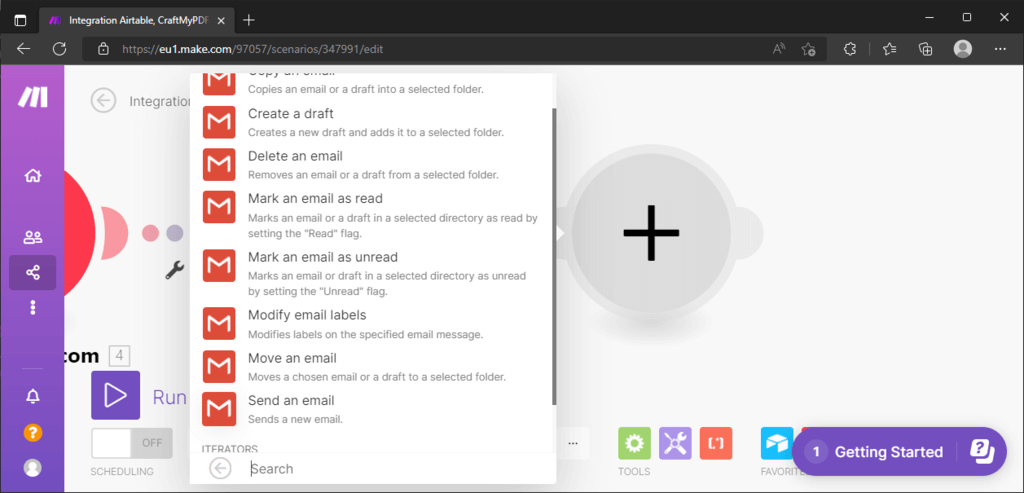
Step 30: Select the Send an Email option.
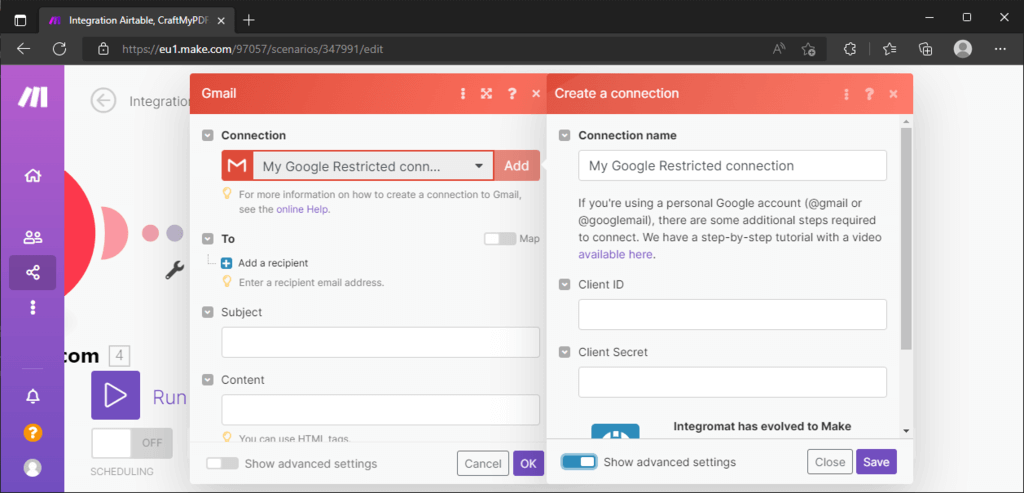
Step 31: If you want to send an email from your Gmail account, you will need to do some extra steps for authentication. You can find a video and detailed guide about this in Make’s official blog.
Step 32: Add the customer’s email address in the Add a recipient section.
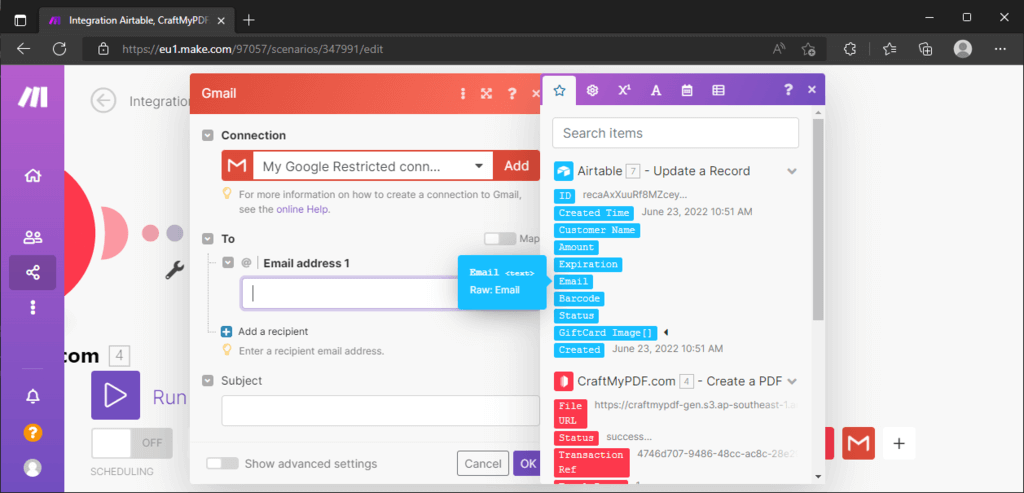
Step 33: Add the subject line in the Subject text field and the text or HTML content in the Content text field. We are also adding our FILE URL in the content section.
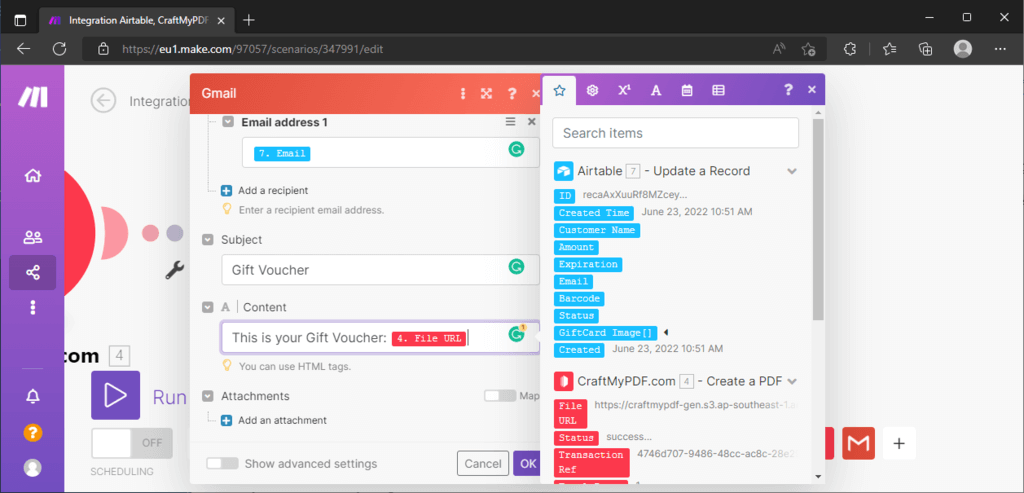
Step 34: Click on the OK button and that’s it.
Now, every time you add a new record, an email will be sent to the candidate with a link to the gift voucher.
Conclusion
In this tutorial, we showed you how to auto-generate gift voucher images for your customers using Make.com.
This is a great way to save time and ensure that your vouchers are always up-to-date. We hope you found this tutorial helpful!