If you’ve ever been to a concert or sports game, you’re probably familiar with the concept of a ticket. But did you know that a ticket can refer to much more than just admission to an event? In fact, this little piece of paper can hold a variety of meanings depending on the context.

At its core, a ticket is essentially a document that serves as proof of a transaction or entitlement. For instance, when you purchase an admission ticket, you’re essentially buying the right to enter a specific event. But there are many other types of tickets out there as well. Raffle tickets, for example, are often sold as a chance to win a prize in a raffle or lottery.
You may have also heard of support tickets used by customer support teams to track customer issues and provide assistance, and traffic tickets, a document that accuses a driver of committing a traffic violation and imposes a fine or penalty.
Why automation?
Auto-generating tickets can save a lot of time and effort by automating the process of creating and assigning tickets. By using automation tools to generate tickets, there’s less room for human error. This can help to ensure that all necessary information is captured correctly, reducing the likelihood of miscommunication or mistakes.
It becomes easier to track the progress of each request and in return, help managers identify bottlenecks or areas that require additional resources or attention. It can also help organizations to scale their support or customer service operations more efficiently.
As the volume of requests grows, automation tools can help to ensure that tickets are processed quickly and accurately, without requiring a proportional increase in staff or resources.
The overview of the workflow
If you find yourself in a situation where you need to constantly produce large volumes of tickets to be processed, then this article is for you.
I would be showing you how to design a PDF ticket template on CraftMyPDF and auto-generate with Ticket Tailor and Zapier, along with the nitty-gritty details, so get ready to perform some automation tricks!
If you need to create printable tickets without building an automation workflow, try our free event ticket generator to design and generate professional event tickets online in just a few steps.
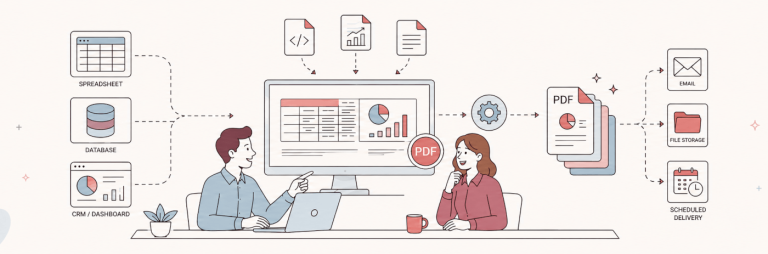
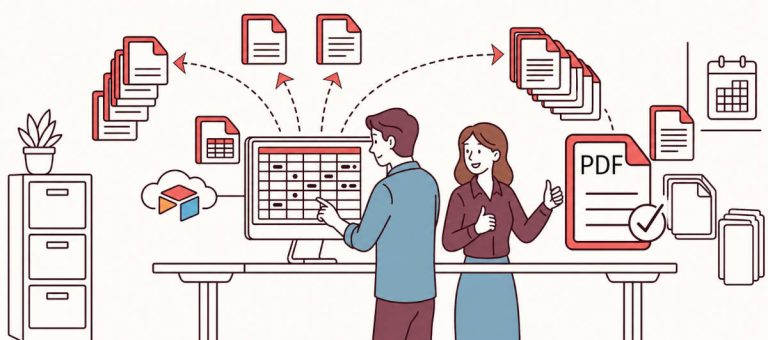
Here’s an overview of the PDF ticketing process.
Step 1: Design a CraftMyPDF Template
CraftMyPDF is a powerful online tool that is perfect for anyone looking to create customized PDF templates. It offers a range of features and options that make it easy to design templates that look professional and meet your specific needs.
One of the best things about CraftMyPDF is that it allows you to save your templates in the cloud, so you can access them from anywhere and make changes as needed. It is a fantastic tool for businesses that need to create custom tickets, invoices, receipts, or other types of documents.
If you want to create a ticket quickly without designing a template from scratch, you can also use our ticket templates to generate printable PDF tickets in just a few steps.
Here are the steps needed to design your ticket template using CraftMyPDF:
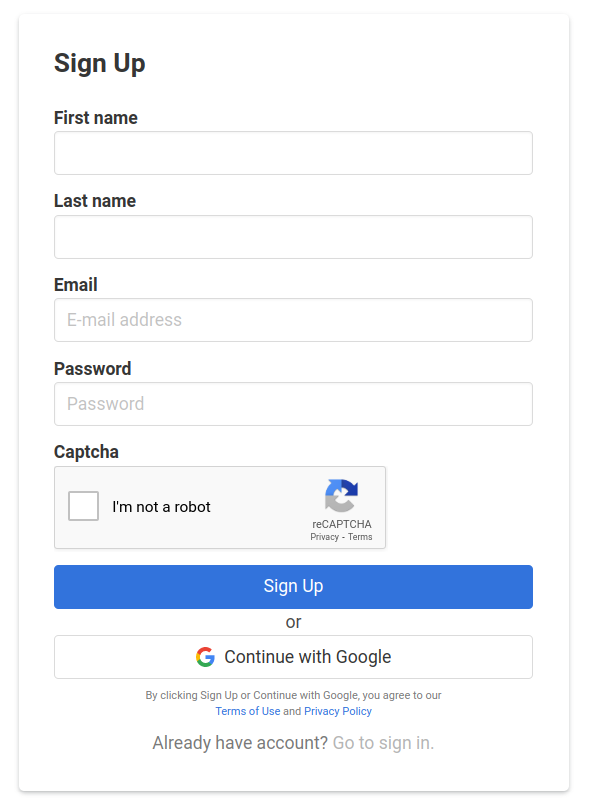
i. Sign up for a CraftMyPDF account: If you have a registered CraftMyPDF account, then you can skip this step, but if you don’t, go to craftmypdf.com and click on Sign Up at the top of the page, and follow the necessary details required to create your account. Yes, you can sign up for a free account and still get to use all the templates for free without having to input your credit card details, or you can sign up for one of the paid plans for awesome premium features.
ii. Go to “Manage Templates”: After your registration is complete, you would be automatically directed to your dashboard. Go to Manage Templates which is located at the top of the page, on your “Manage Templates” page. The Manage Templates page contains all the templates you would be creating and using on CraftMyPDF. On this page, select the New PDF Template since the goal is to create a PDF Ticket.
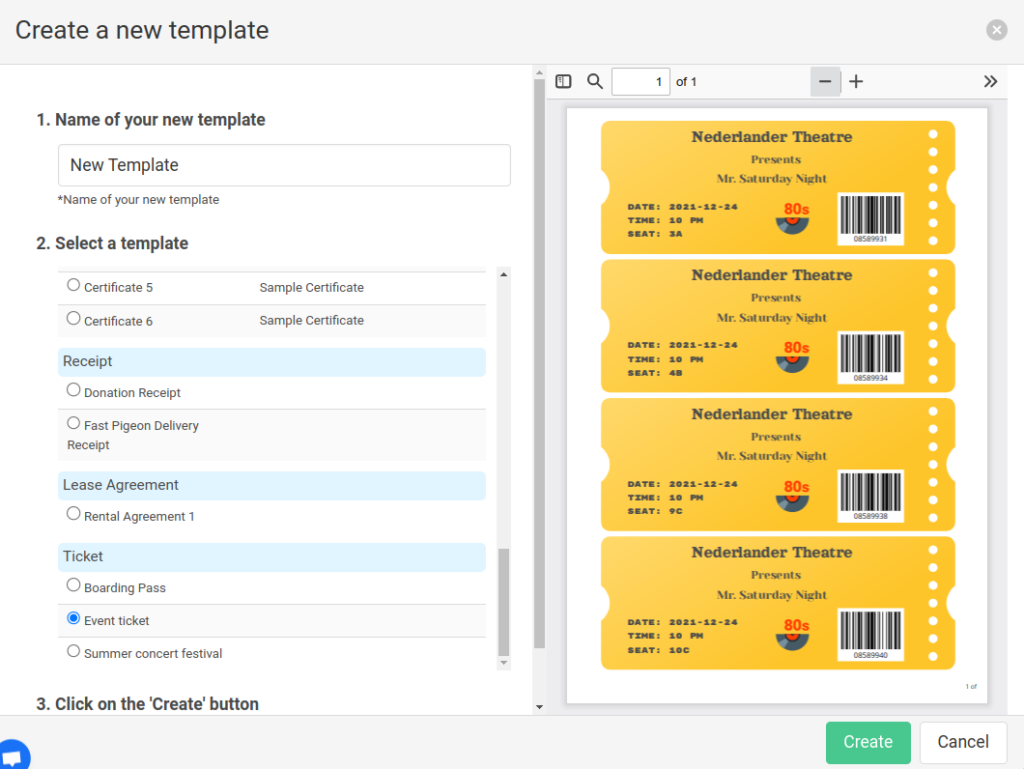
iii. Select New PDF Template: In the New PDF template page, you would be directed to a page where you can create a new template. Here, you would see the different types of PDF templates available on CraftMyPDF. You can choose to change the name of your template if you like using the “Name of your new template” field (I renamed mine to Event). It’s alright to leave the default name too.
iv. Go to “Select a template”, and choose the Event Ticket under the Ticket category. After selecting the Event ticket template, click on the Create button. Now, you can start customizing your template to fit your specific requirements. CraftMyPDF provides a user-friendly interface that allows you to edit text, add images, change colors, and adjust other design elements easily.
Step 2: Setting up Ticket Tailor
Ticket Tailor is a cloud-based platform that is designed to make selling tickets and managing events a breeze. With its exceptionally friendly user interface, you can create customized event pages and tickets that reflect your branding and style. You can also set up multiple ticket types, such as early bird tickets or VIP passes, to cater to different attendees’ needs.
Ticket Tailor also integrates with payment processors such as PayPal and Stripe, and accepting payments online is fast, secure, and hassle-free. It has a user-friendly interface which makes it easy to manage attendees’ information and track ticket sales. If you’re planning an event and need an easy-to-use ticketing platform, it’s the perfect fit.
If you’re organizing in-person events, you can also use our badge maker to create professional attendee badges that complement your event tickets.
We would be using the ticket tailor “free event ticketing” for this article. Here are the easy steps needed to get started:
2.1 Sign up for a Ticket Tailor account
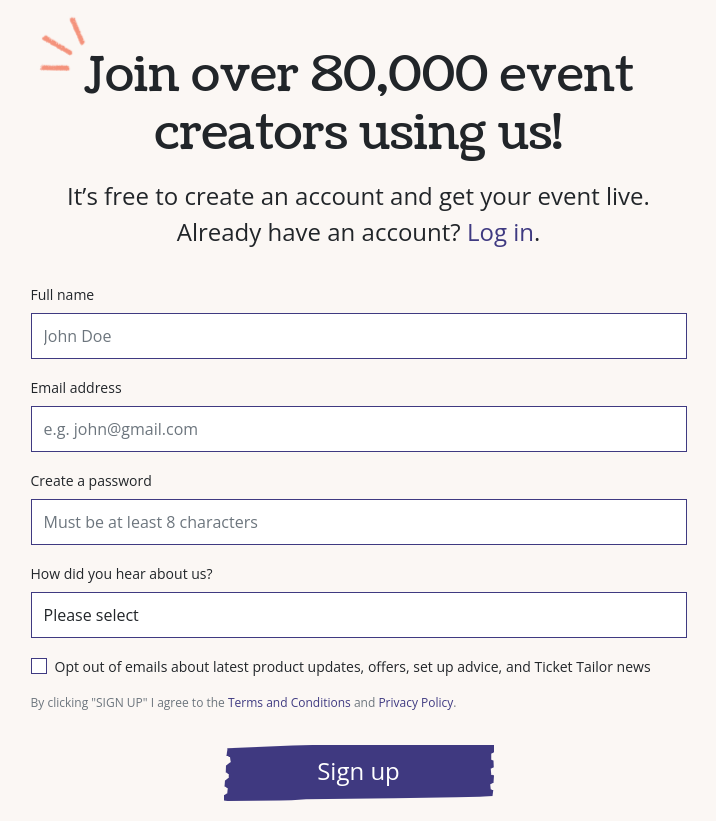
To start using the Ticket Tailor platform, you’ll need to create an account. You would need to input simple details like your name, a valid email (you would need to verify your email), and a password. Again, no credit card details are needed here. The steps are really simple and straightforward.
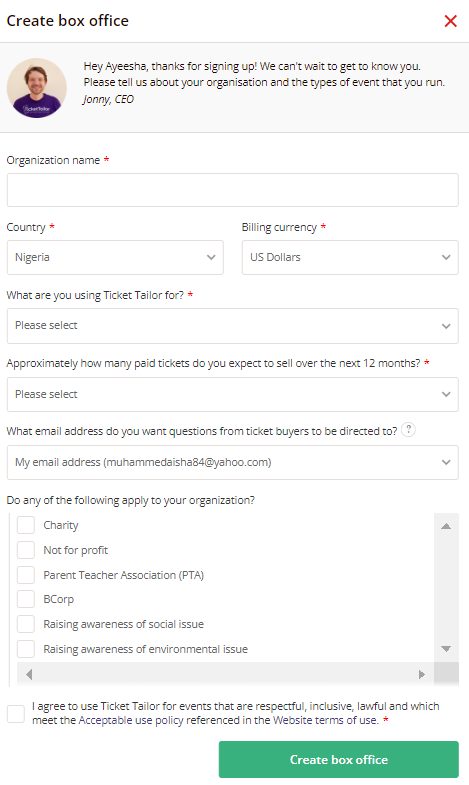
After creating an account, you would get a form similar to the screenshot below. Here, simple details are needed to continue setting up like your organization, country, what email address would you like your buyers to be directed to, and some other easy questions.
After filling in the details, click on Create box office (A box office is where all the details of your event would be shown), and you’re good to move on to the next phase!
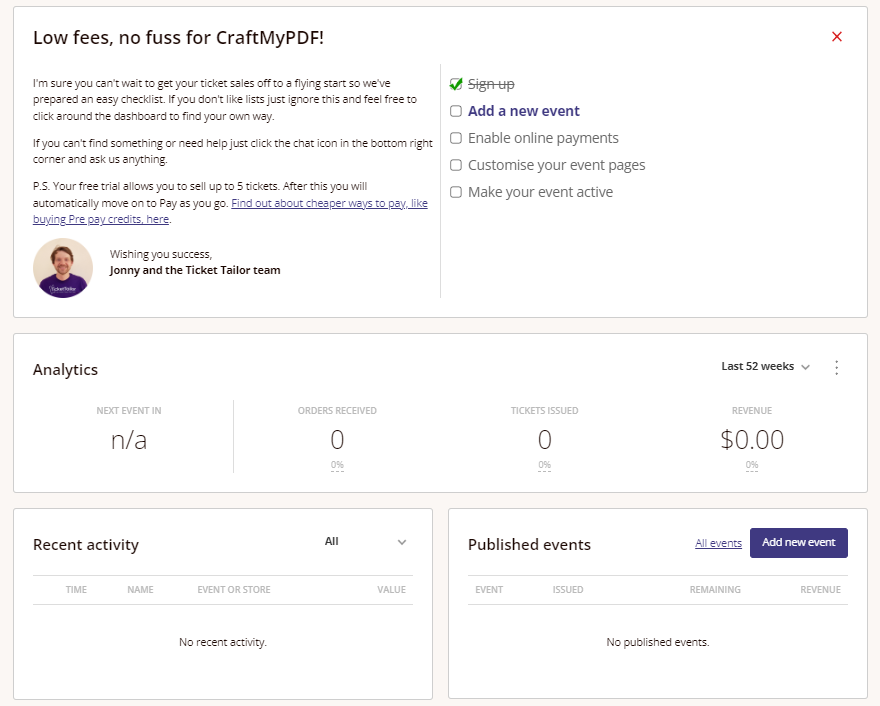
2.2 Add new event
On your dashboard, you are going to see an Add new event button similar to the screenshot below. This allows us to add the information needed for our event, which would help us generate the correct information needed for our tickets. Here’s what you need to do:
i. Enter the event details: Input the basic details of your event such as the event name, date, and time. For the purpose of this article, we would be using the details on the template that was generated on CraftMyPDF. We have the option of choosing if it’s a recurring event but let’s leave that for now.
ii. Enter venue details: Input the venue details of your event, such as the venue name, venue postcode/zip, and the venue country. These details would be reflected on your ticket.
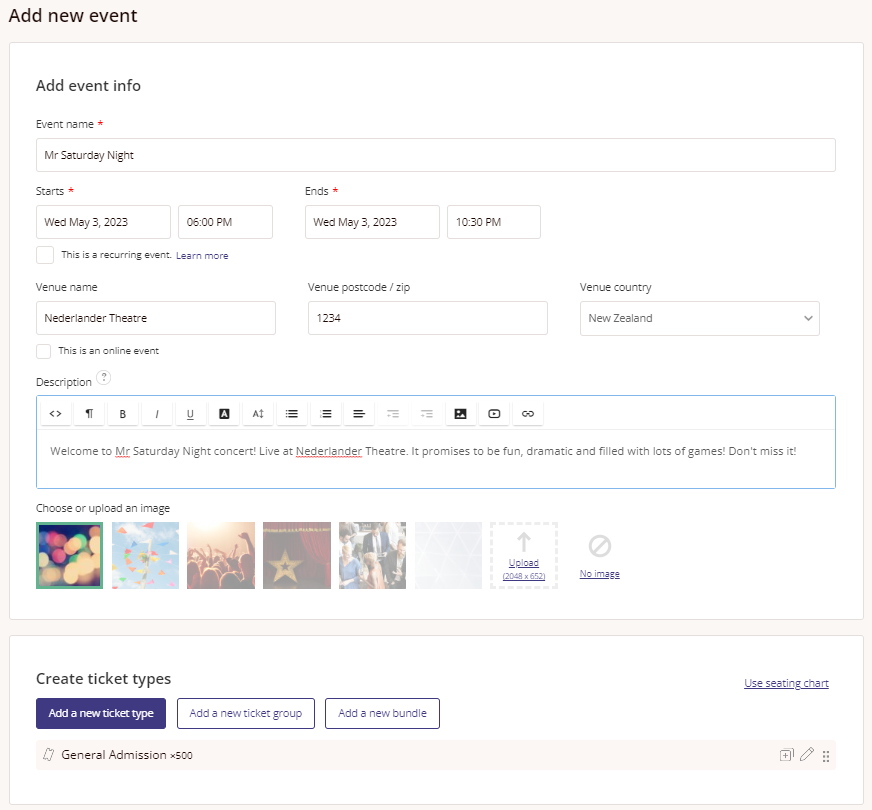
iii. Description: Add the description of your event. It’s advisable to make sure you have all the necessary information and details about your event to ensure your event is successful.
iv. Upload image: This is optional. However, you can choose any image of your choice for beautification purposes.
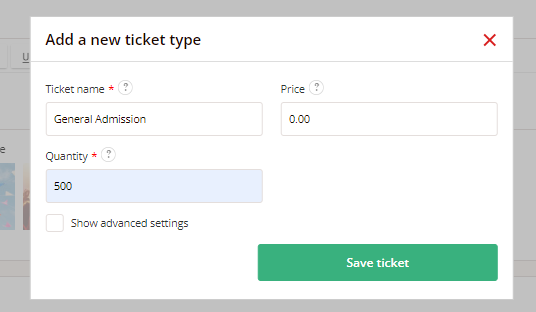
v. Create ticket type: Choose the “Add a new ticket type” button. You are allowed to choose the type of tickets you want to offer, such as general admission, VIP, or early bird. The default is general admission. Then, customize the ticket settings, such as the ticket price and quantity.
vi. Event Settings: It is necessary to specify the timezone of our event. This is important in the sense that we would always want an accurate reminder for our event. Choose the time zone where the event is taking place and click on the save button.
vii. Preview Event: After saving our event details, we would be referred back to our dashboard. Now to make sure everything looks good, let’s go ahead and preview the event using the Preview Event button.
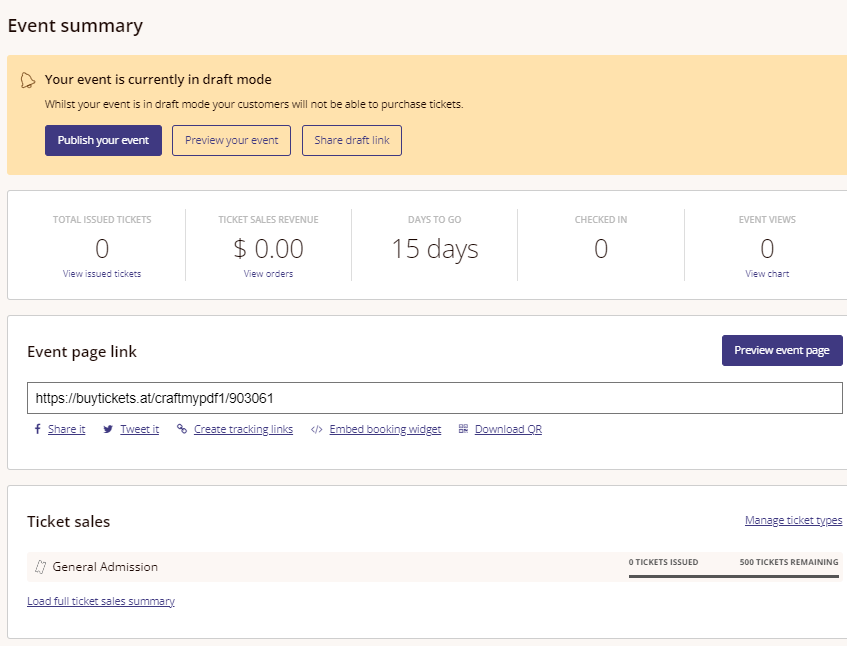
You should get an image similar to the screenshot above. Let’s try to join the guestlist by using the Join the Guestlist button.
Here, you should be able to order your tickets like the quantity you want, your name, email, and so on. The details of your ticket purchase would be forwarded to your email.
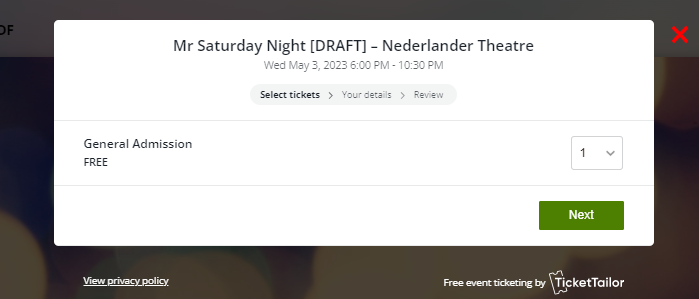
Another cool thing is the seller of the ticket would also receive an email on your purchase to make tracking seamless. Sleek right?
viii. Publish Event: If everything works exactly how you want, you can go back to the dashboard and publish your event using the Publish Event button so you can start selling tickets!

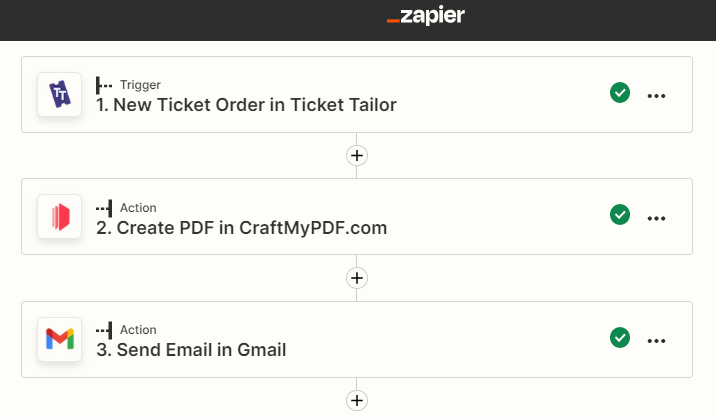
Step 3: Configuring Zapier to generate PDF tickets
Zapier is a platform that allows you to automate tasks and workflows between different web applications. You can use Zapier to connect Ticket Tailor and CraftMyPDF so that tickets are automatically generated whenever a new ticket order is created.
To get started, sign up for a Zapier account and create a new Zap using the Create Zap button. After creating a zap, we would need to setup a few things:
3.1 Creating a trigger
In Zapier, a trigger is an event that ignites an automated workflow (also known as a Zap) to do some cool stuff for you. Think of it like a chain reaction where one thing leads to another, except it’s all happening in your apps. Let’s say you’re waiting for an important email from a client. Instead of constantly refreshing your inbox, you can set up a trigger in Zapier that monitors your email for new messages.
Once the trigger detects a new email, it automatically starts your Zap and performs a series of actions you’ve set up, such as sending a follow-up message, adding the client’s contact info to your CRM, or creating a task in your project management app.
The best part about Zapier is that it offers over 3,000 apps that can be used as triggers or actions, meaning you can connect all your favorite tools and automate a ton of tasks. Here, we are going to be using these triggers to automate sending our PDF tickets directly to the customers who showed interest in the event.
Here are a few steps we need to take:
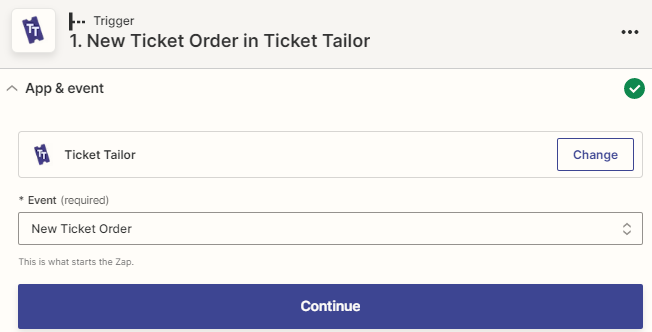
- Choose an app: Type and add Ticket Tailor as your app
- Add an event: Type and choose New Ticket Order as your event
- Connect Ticket Tailor account: Add your Ticket Tailor account to your trigger
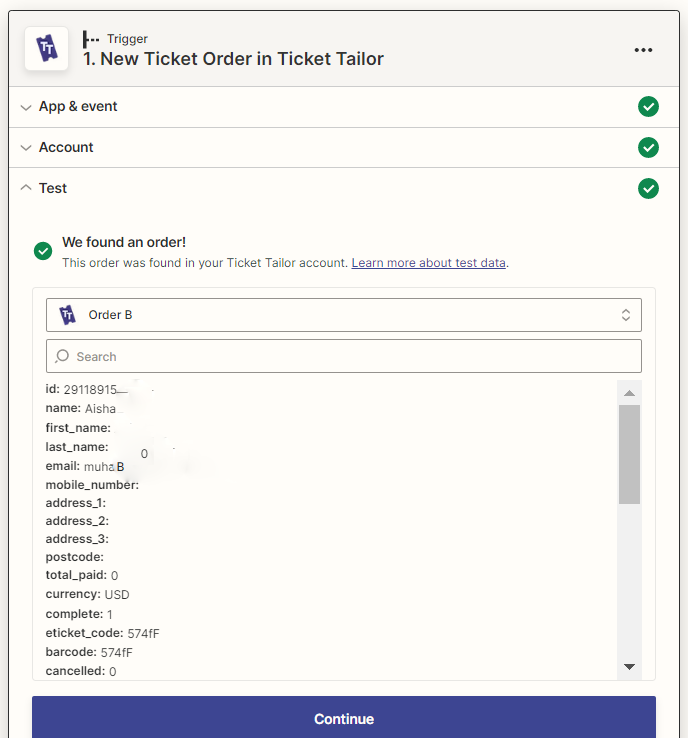
- Test trigger: To make sure everything works, we need to test our trigger. You should get a message similar to the screenshot (if you don’t, don’t fret. Simply go back to your event link and create an order).
3.2 Add a new Action to Create PDF
The next step is to set up the action using CraftMyPDF. Here are the few steps you need to take:
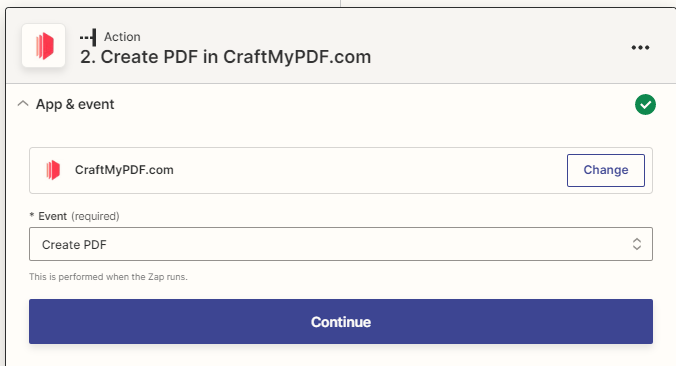
- Choose app: Type and choose CraftMyPDF as the app
- Choose event: Select Create PDF as the event since we are trying to generate a PDF ticket.
- Connect CraftMyPDF account: Add your CraftMyPDF account to set up the action.
- Set up action: We would need to connect a few things:
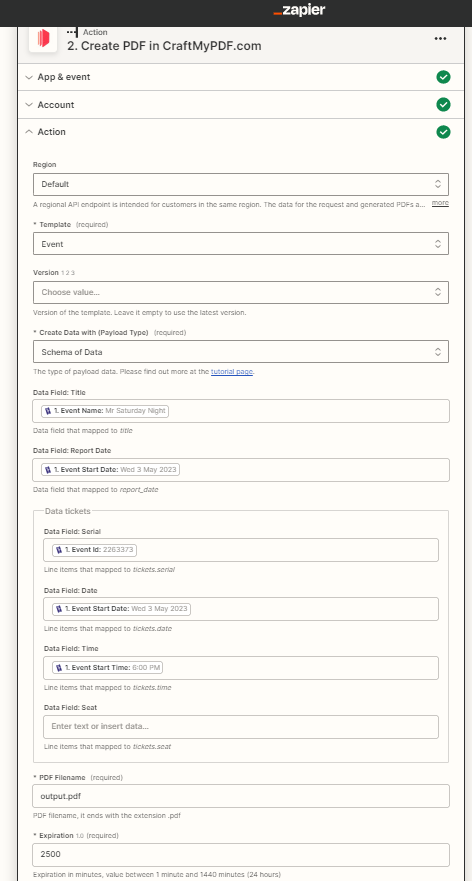
- Template: Select the template we created earlier on CraftMyPDF (Event)
- Create Data with (Payload type): Select “Schema of data” as your payload type. This is because this payload type handles nested objects and arrays.
- Data Field: We’d be passing our Ticket Tailor data fields as our data.
- Expiration: The default expiration time is 5 minutes, however, we can increase the expiration time. I increased mine to 2500 minutes, this is so that the image doesn’t expire before we post it. Click on “Continue”
- Test Action: Click on the “Test Action” button in order for us to make sure everything works correctly. You should be able to generate a PDF file and get a result similar to the screenshot below.
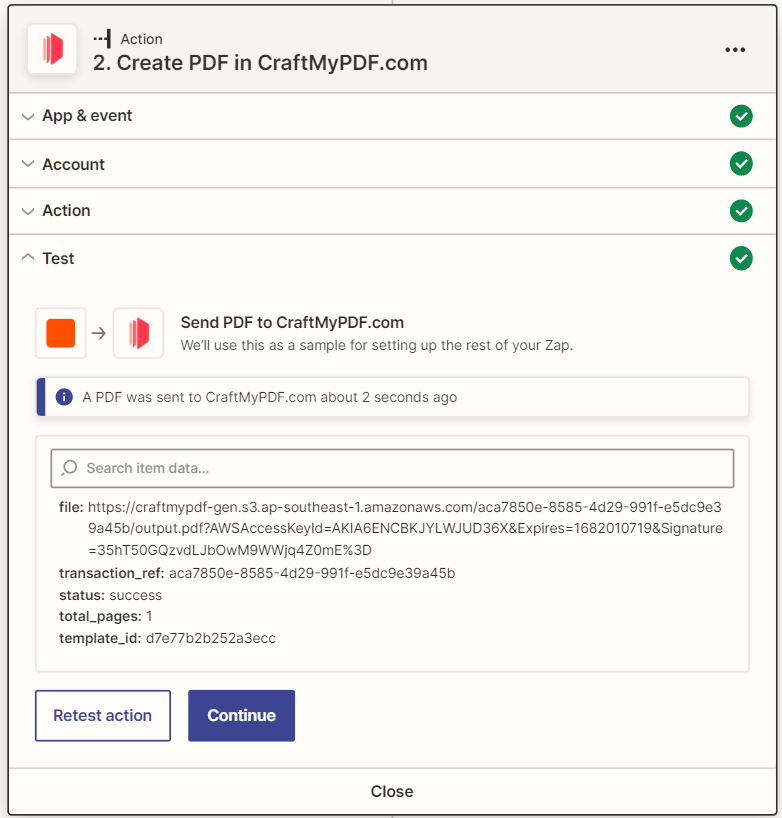
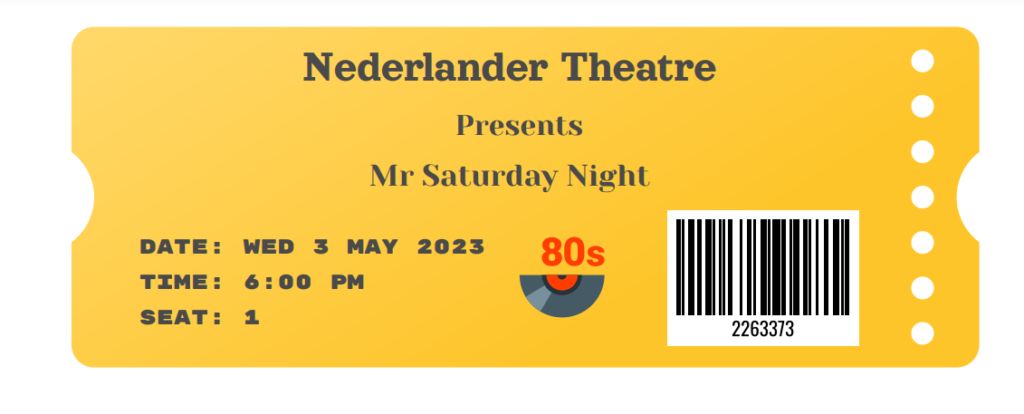
You can preview the PDF ticket by copying the file link and pasting on your browser.
Step 4. Add a new Action to Send Emails in Gmail
The final step is to send the already generated PDF ticket as an email attachment to the recipient. Here are the steps you need to take:
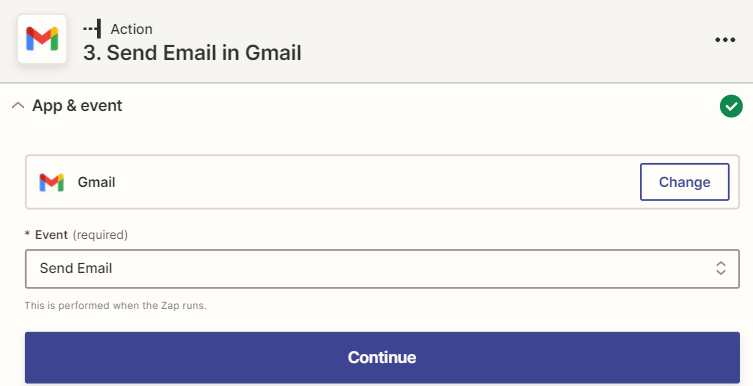
- Choose an app: Type and choose Gmail as the app or any emailing application of your choice.
- Choose an event: Select Send Email as the event since we are trying to send the generated PDF ticket.
- Connect Gmail account: Add your Gmail account to continue setting up the action.
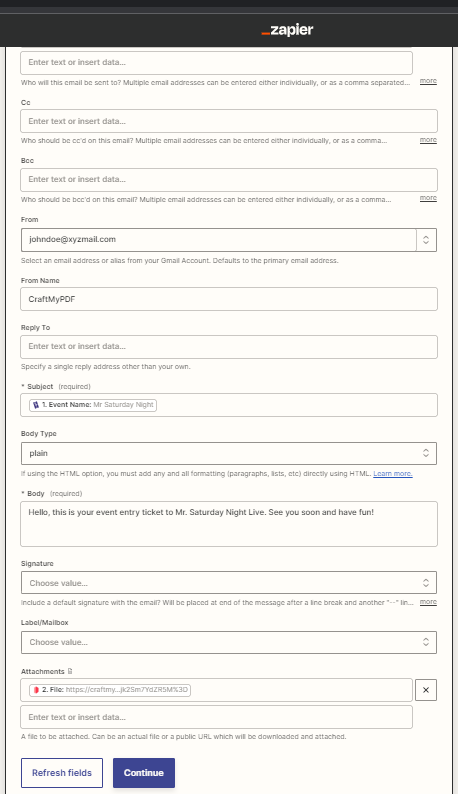
- Set up action: We would need to connect a few things:
- To: This is who the PDF ticket should be sent. Type or pass in the recipient’s Email address.
- Cc: This is who you intend to copy in the email you are about to send.
- Bcc: This is who you intend to copy in the email you are about to send. Multiple addresses can be entered.
- From: You can select your Gmail account you connected with Zapier or choose an alias account, whichever you prefer.
- FromName: This is the name of the organization send the Email.
- Reply to: You can select a single email address other than yours.
- Subject: This is the subject/ header of your email.
- Body: This is the description of what you want your Email to contain
- Attachment: This is the PDF ticket we are trying to send. Here, you can easily pass in the already generated file we got using CraftMyPDF action. Click on “Continue”
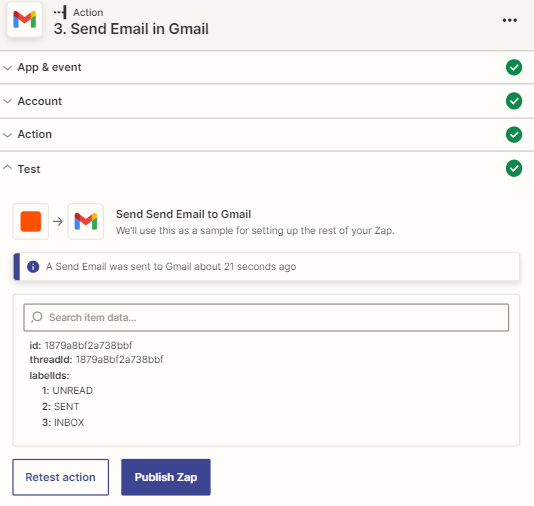
- Test Action: Click on the “Test Action” button in order for us to make sure everything works correctly. You should get a message that says an email has been sent. And that’s it!
Conclusion
As the event industry continues to grow and evolve, the need for streamlined processes has become increasingly important. Auto-generating PDF tickets is a perfect example of this, as it helps event organizers save time on manually generating tickets, reduce errors, and ensure that attendees have a seamless experience from start to finish.
This article has provided a comprehensive guide on how to generate PDF tickets using Ticket Tailor and CraftMyPDF. It explains how to create custom PDF ticket templates with CraftMyPDF, allowing organizers to design tickets that are unique to their event. It also provides detailed instructions on how to set up an event on Ticket Tailor, including how to add basic event details and create different ticket types.
Lastly, we go on to explain how to connect Ticket Tailor and CraftMyPDF using Zapier providing step-by-step instructions on how to create a trigger in Zapier and how to send the generated PDF ticket to the attendee via email.