
TL;DR
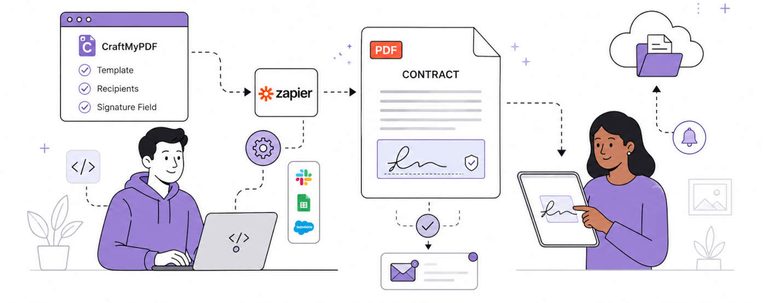
Build a signature-ready PDF template once in CraftMyPDF, then trigger it from any app using Zapier’s Generate PDF Document action. Recipients sign by drawing, typing, or uploading a signature, and you track status and download signed PDFs from the Signed Documents dashboard.
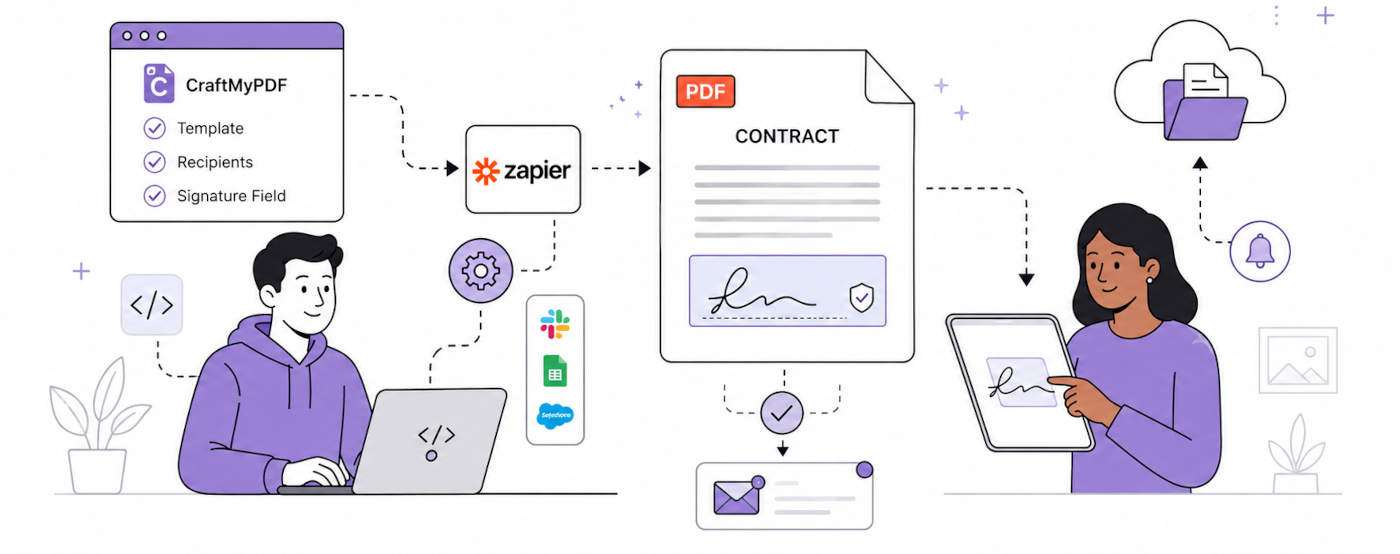
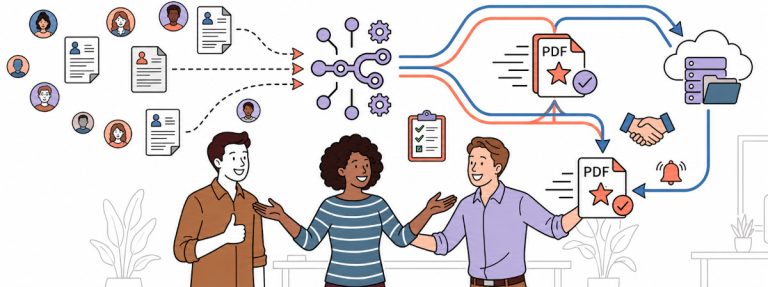
Exporting a contract, emailing it, chasing the signer, downloading the return, then filing it is fine once. Several times a month, it becomes somebody’s job.
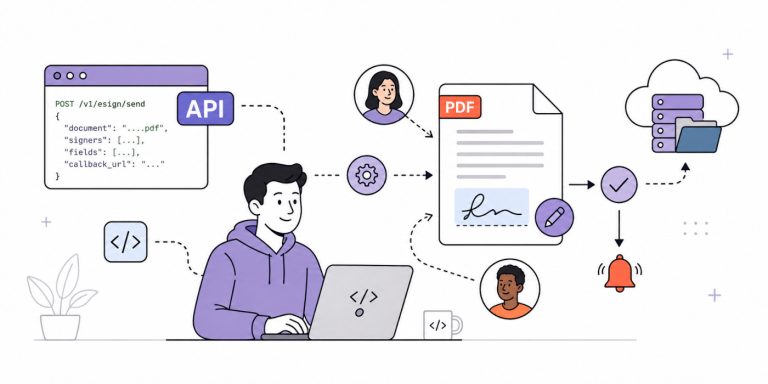
CraftMyPDF’s eSignature API is backed by Documenso and supports the ESIGN Act, UETA, and eIDAS (SES). Recipients sign by drawing, typing, or uploading an image of their signature.
The part that matters for automation is where signing is configured. It is a property of the template, not a separate call. Once E-Signature is enabled, CraftMyPDF creates a Documenso envelope after each PDF generation and emails the signing requests automatically. So in Zapier, there is no “send for signature” step to add. The standard Generate PDF Document action does both jobs.
Step 1: Build a Signature-Ready PDF Template
Create a CraftMyPDF account and copy your API key from the API Integration tab. The Free plan includes 5 signed documents per month at no cost.
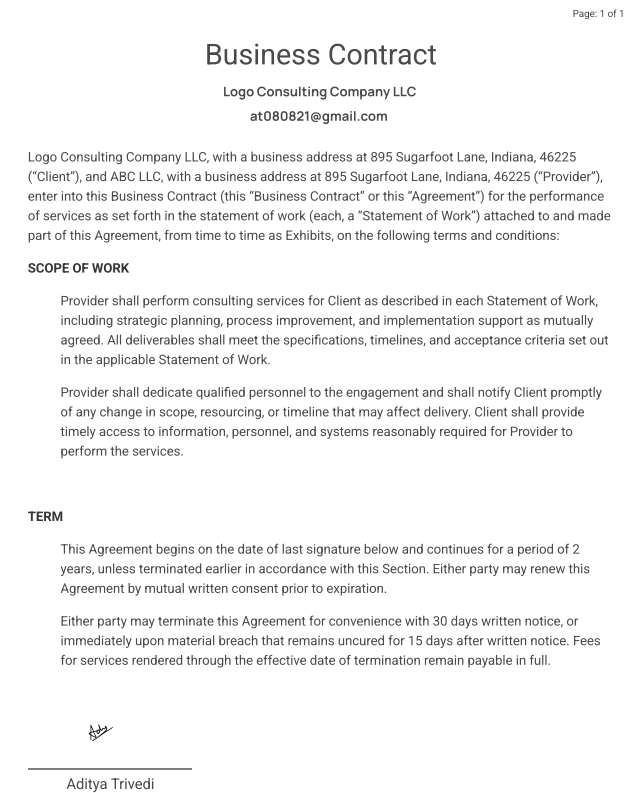
Open Manage Templates and click Create New PDF Template, then pick the Business Contract starter template. It arrives with layout, styling, and its own sample JSON already in place, which is faster than building a contract from scratch. If you would rather use a document you already have, choose Create Template from PDF instead and click Edit.
The starter contract ships with placeholder copy, so open the WYSIWYG editor and replace the body text with your real wording: the parties, scope of work, and term.
Keep the sample JSON that came with the template in the Data tab and edit the values rather than the keys. Zapier reads this sample later to build your input fields, so these key names are what you will map in Step 3.
Here is the sample JSON data used for this walkthrough, with the signer name and email swapped for real ones:
{
"company_name": "Logo Consulting Company LLC",
"email": "at080821@gmail.com",
"contractor": "ABC LLC",
"years": 2,
"address": "895 Sugarfoot Lane, Indiana, 46225",
"director": "Aditya"
}
ince we are collecting one signature, the sample data needs just two things: a name for the person signing and an email to send the request to. This template already has both, in director and email. If your own template has a signer name but no email, add one, because the invitation goes to whatever the recipient email resolves to.
Enable E-Signature
Open the E-Signature tab in the settings panel and check Enable E-Signature. It has four sections:
| Section | Controls |
|---|---|
| Signing order | Parallel or sequential |
| Envelope details | Signing email subject and message |
| Envelope expiration | Optional deadline, 30 day default |
| Recipients | Who signs, and in what role |
Add your recipient
Add a single recipient. It gets a Recipient ID, recipient_1, which you will use when assigning the signature field.
Set its role to Signer. Name and email accept static values or expressions, and expressions are what make one template work for every customer, so bind them to the keys in your sample data rather than typing an address. With the Business Contract sample that means {{ data.director }} for the name and {{ data.email }} for the email. Adjust the paths to match your own JSON.
Signer is one of five available roles. The others are Approver (reviews and approves, signing optional), Viewer (acknowledges only, no fields assignable), CC (receives a copy after completion), and Assistant (pre-fills for later signers, requires sequential signing). With a single recipient you only need Signer, and signing order does not apply.
Place your fields
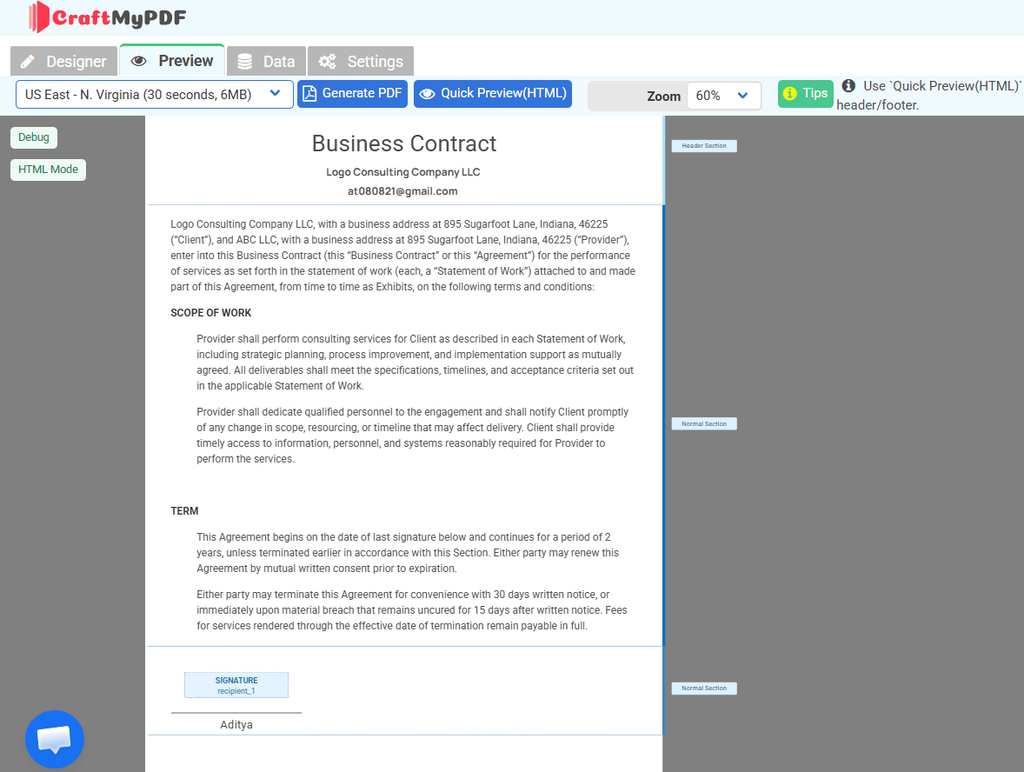
You will find these in the Components tab in the left panel of the template designer, under the E-Signature Fields section. Ten field types are available: Signature, Initials, Email, Name, Date, Text, Number, Radio, Checkbox, and Dropdown.
For a single-signature contract, a Signature field with a Name beneath it is enough. Drag it from the Components panel and drop it where it belongs on the page.
Then assign the owner. Select a placed field, and in the right-hand properties panel choose recipient_1 from the Recipient dropdown. Repeat for every field, because each one must be assigned, and your signer needs at least one Signature field.
If you started from a contract template, delete any signature line that came with it before adding your own. Starter templates often include a decorative signature graphic and printed name, which is static artwork rather than a real signature field, and leaving it in place puts what looks like a completed signature on an unsigned contract.
Step 2: Build the Zap
Create a new Zap to get started.
i. Choose your trigger
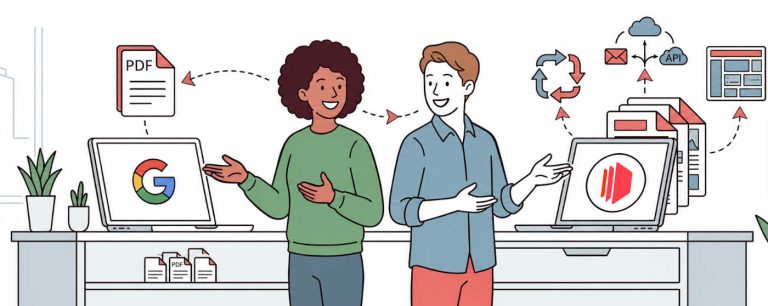
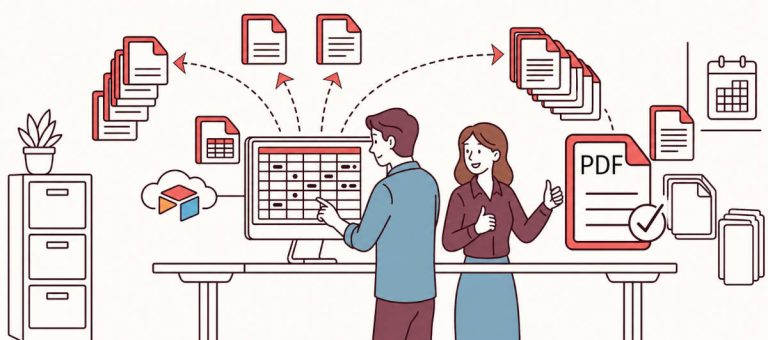
The trigger is the event that should start a contract. For this walkthrough we use Google Sheets, where each new row is a contract to send out.
Set up a sheet with one column per value the contract needs, matching the keys in our sample data:
| Company Name | Signer Email | Contractor | Years | Address | Director |
|---|---|---|---|---|---|
| Logo Consulting Company LLC | at080821@gmail.com | ABC LLC | 2 | 895 Sugarfoot Lane, Indiana, 46225 | Aditya Trivedi |
In Zapier, add the New Spreadsheet Row trigger, connect your Google account, select the sheet, and test it so Zapier pulls in that row as sample data.
ii. Add the CraftMyPDF action
Add an action step, search for CraftMyPDF, and select Generate PDF Document. Connect the app with the API key from your API Integration tab, then choose the Business Contract template ID you enabled E-Signature on.
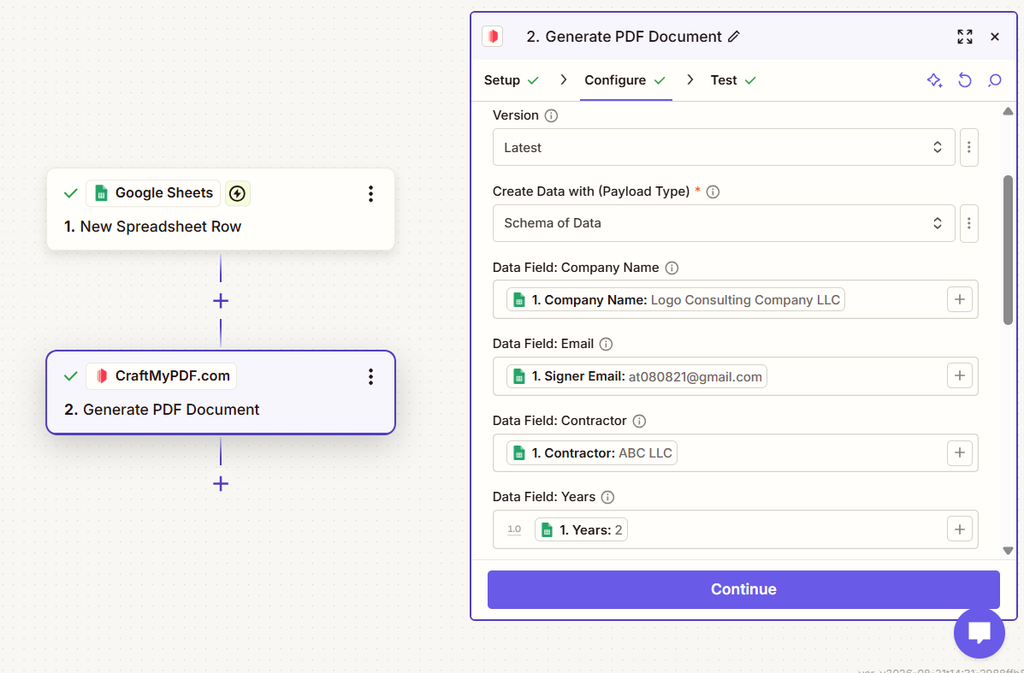
For Payload Type, choose Schema of Data. It reads the sample JSON from your template’s Data tab and turns each key into its own input field, which is exactly what we want.
iii. Map your signer data
With Schema of Data selected, you will see a field for each key from the sample JSON. Map each one to its column from the Google Sheets trigger:
| CraftMyPDF field | Mapped from sheet |
|---|---|
company_name | Company Name |
email | Signer Email |
contractor | Contractor |
years | Years |
address | Address |
director | Director |
The director and email fields are the important pair, because those are the two keys your recipient expressions point at. In Step 1 we set the signer’s name to {{ data.director }} and email to {{ data.email }}, so as long as those two columns are mapped, the right person gets invited.
Check this carefully. If the email field ends up empty, the recipient resolves to nothing and no invitation goes out. Nothing errors. The contract just goes nowhere.
So the Zap is now complete.
iv. Deliver or track, optionally
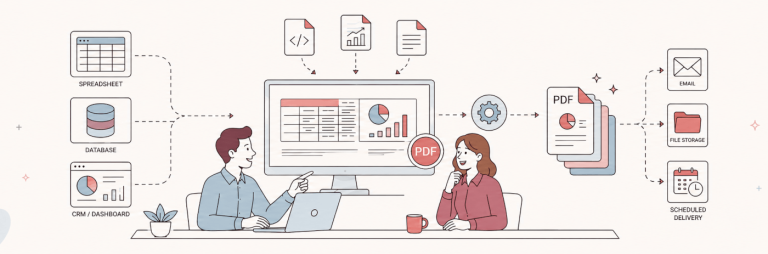
The Generate PDF Document action returns the generated contract, so you can add a step to upload it to Drive, attach it to the CRM, or notify a channel that the agreement went out to Aditya Trivedi.
Signing is asynchronous, so the Zap finishes at “sent,” well before the contract is signed. Completion is tracked on the Signed Documents dashboard rather than through a Zapier trigger, so do not try to make the Zap wait for a signature.
Step 3: Test Your Zap
Turn it on and fire a test trigger, using your own email address since this sends real emails and spends credits.
- Confirm the PDF generated correctly
- Confirm the signing email arrived
- Open the link and sign it
- Check Signed Documents, next to Manage Templates. Status moves through Sent to Completed
- Download the signed PDF
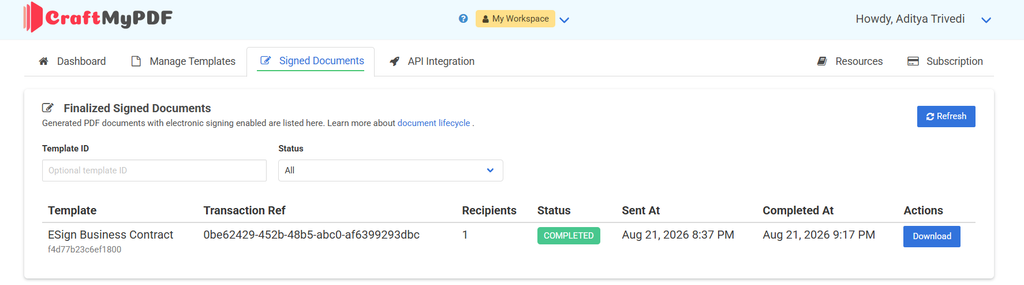
Once completed, the downloaded PDF is your contract with the signature and name filled in, exactly as the signer left it.
Troubleshooting – Nothing happens at the CraftMyPDF step: bad API key, reconnect the account – Wrong document generated: check the template selected in the action – Signer cannot see a field: field not assigned, set the Recipient dropdown – No email received: signer email missing from the payload, check your mapping – Run failed: check credits, each signed document uses 10
Advanced Tips
Adding more signers. Signing order only matters once you have more than one recipient. Parallel sends to everyone at once; sequential notifies each recipient only after the previous finishes, which suits approval chains. The Assistant role requires sequential and cannot be used in parallel.
Expiration and custom emails. Expiration is off unless enabled, with a 30 day default. Subject and message fall back to role-based defaults, and support {signer.name}, {signer.email}, and {document.name}.
Conditional routing. Zapier’s Paths tool branches one Zap with if/then rules, so each branch can point at a different signature-ready template. Add a fallback branch for unexpected values.
Compliance. Signatures support the ESIGN Act, UETA, and eIDAS (SES). SES is the Simple tier, so confirm separately if you need Advanced or Qualified. Signing runs on Documenso, hosted in Europe with SOC 2 Type II and HIPAA compliance.
Conclusion
Once this runs, the chasing stops. A form submission or CRM update produces a finished document, routes it to the right people, and records where every copy stands.
The pattern adapts across teams: legal for contracts and lease agreements, HR for offer letters and onboarding, sales for quotes and agreements. Only the template and recipients change.
Create a free CraftMyPDF account and turn your first document into a signable template.
Additional Resources
- How to add eSignatures to PDFs and automate signing
- 10 Best eSignature API Features for Developers
- E-Signature component reference
- Zapier automation documentation
- Make.com automation and n8n integration
- Pricing
FAQ
How do I automate eSignatures with Zapier and CraftMyPDF?
Enable E-Signature on a PDF template, add recipients as expressions, then build a Zap using the Generate PDF Document action on that template. Generating the PDF creates the envelope and emails recipients automatically.
Which Zapier action sends a document for signature?
Generate PDF Document, on an eSignature-enabled template. There is no separate signature action.
Can I collect signatures from a Google Form or Typeform automatically?
Yes. Any Zapier trigger works. Map the respondent’s name and email into the recipient fields and the request goes out on generation.
Is an eSignature collected this way legally binding?
Signatures support the ESIGN Act, UETA, and eIDAS (SES). SES is the Simple Electronic Signature tier, so confirm separately if you need Advanced or Qualified.
How many credits does a signed document use?
10 credits from your existing plan balance, with no separate subscription. Plain PDF generation costs 1 credit per PDF.
How do I know when a document is signed?
On the Signed Documents page. Documents move through Queued, Processing, Created, Sent, Completed, Rejected, Failed, and Cancelled, and you can download the signed PDF once sent or completed.